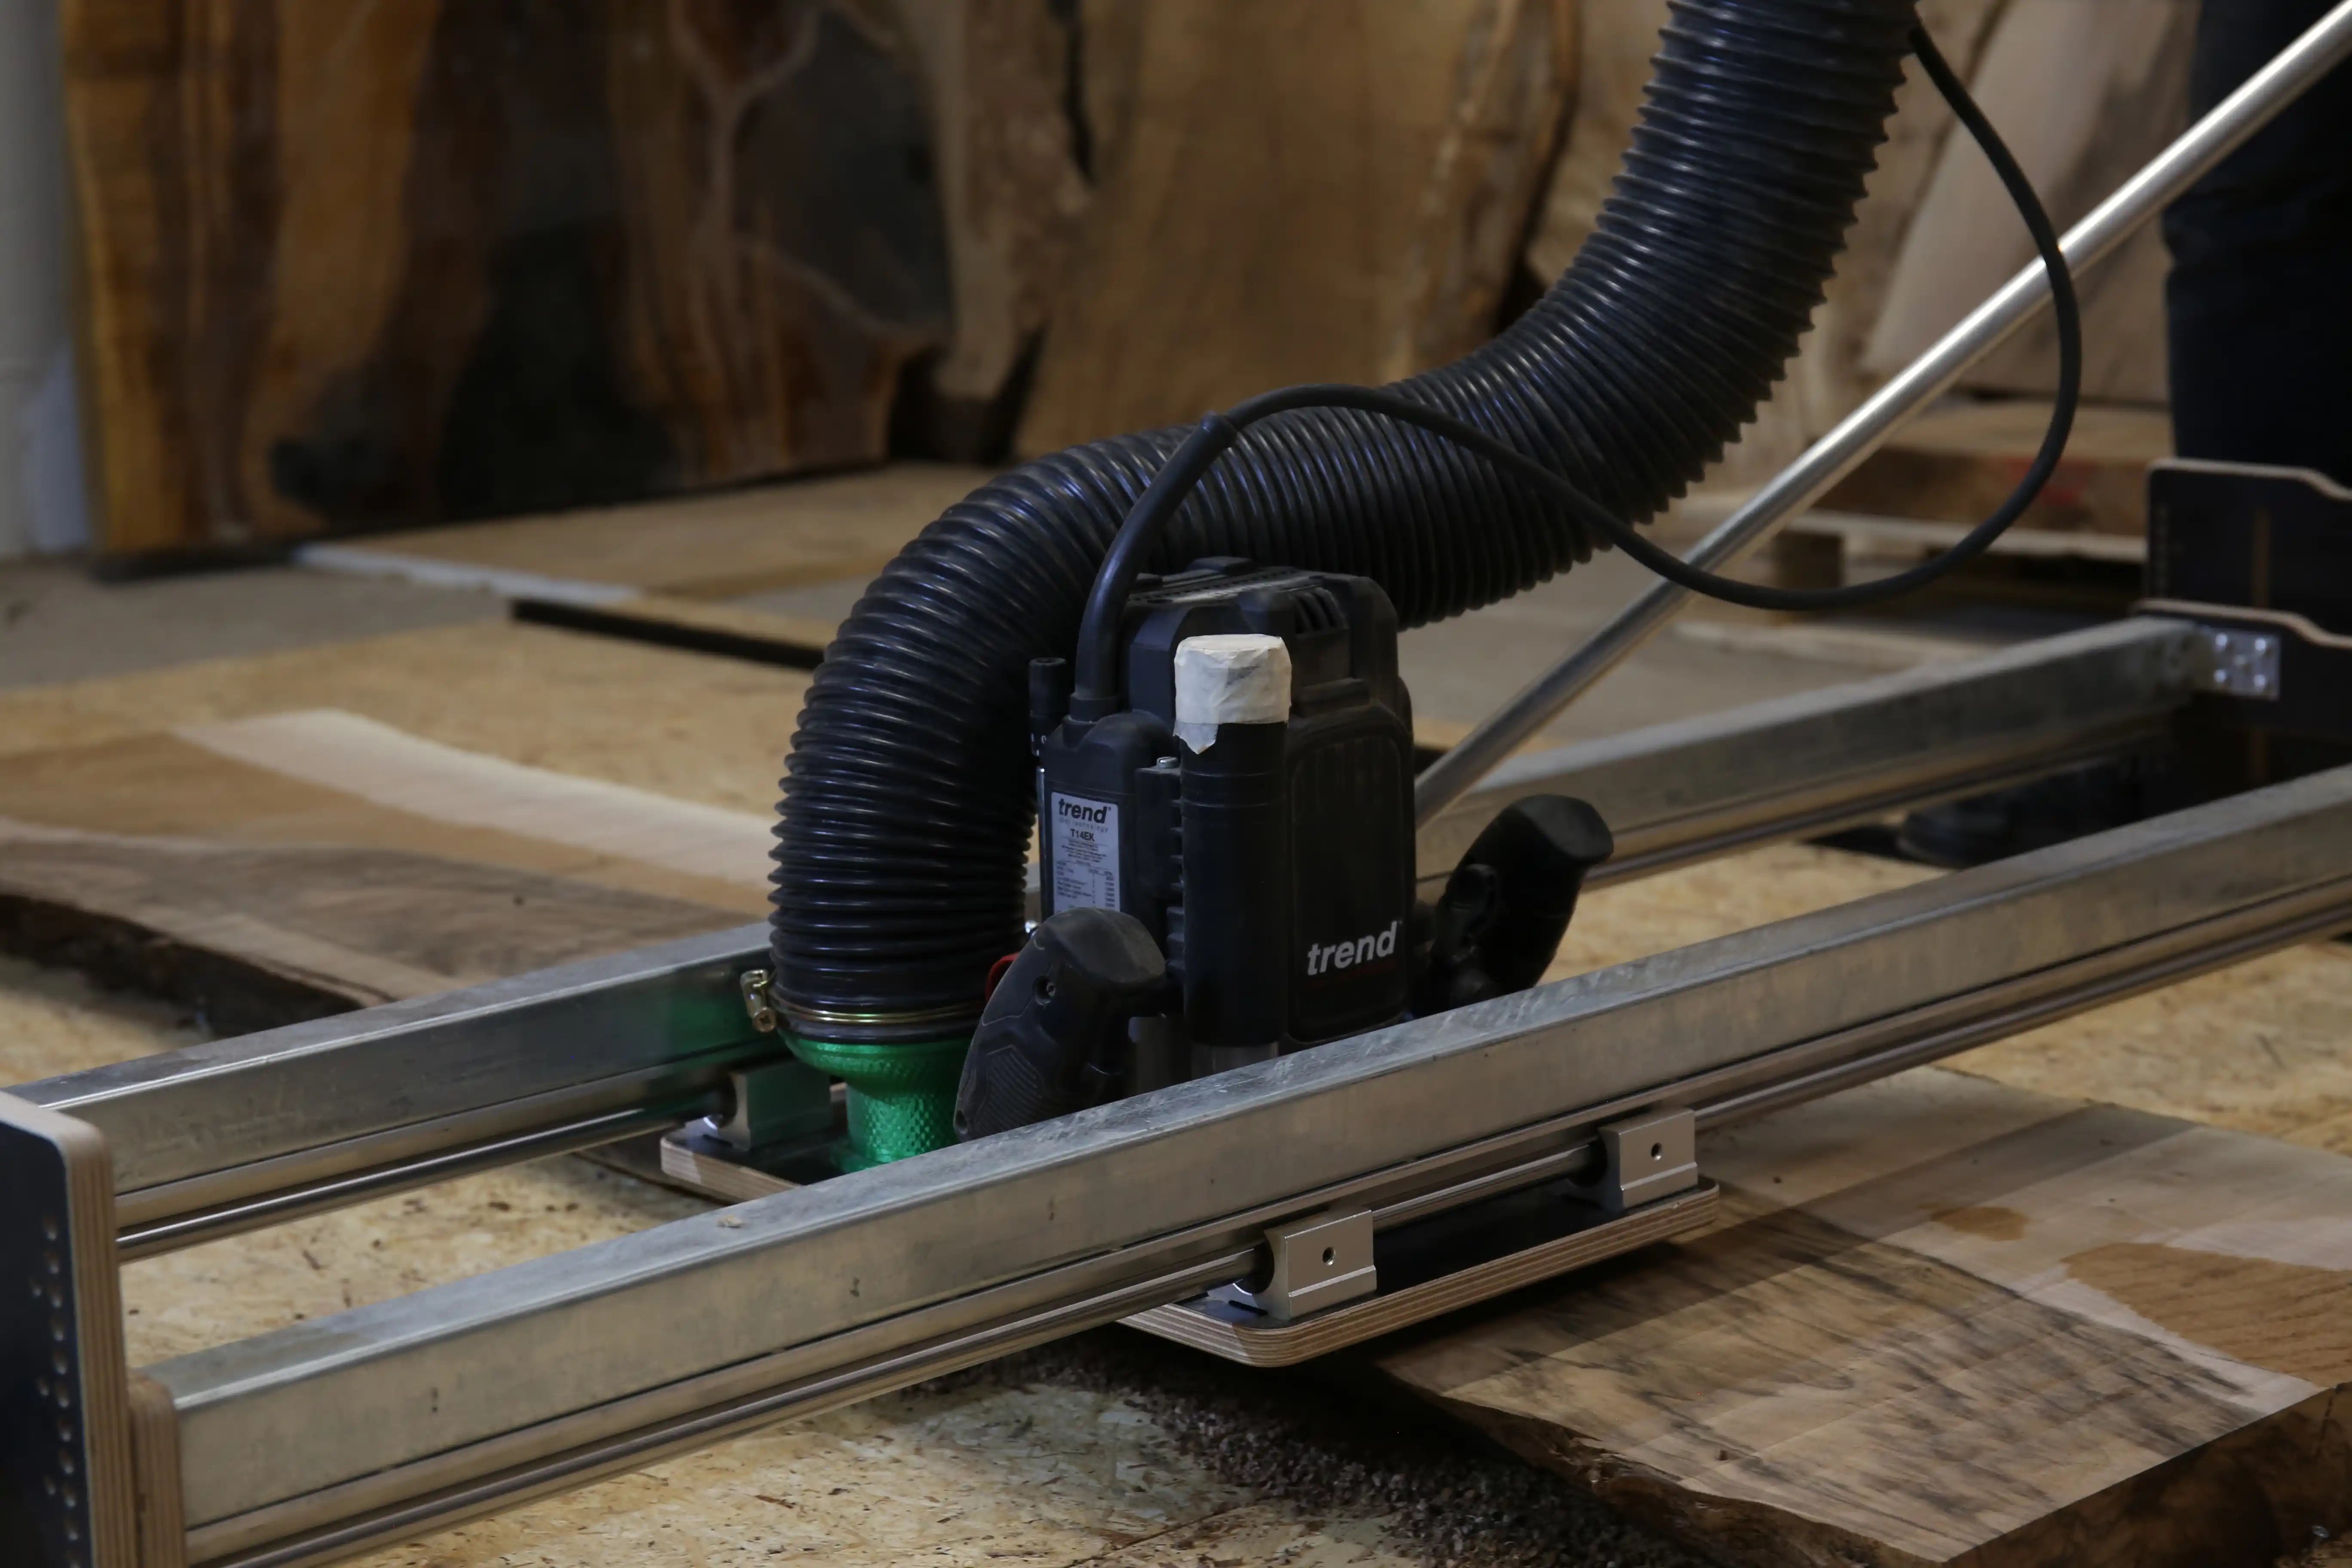
A router sled only delivers clean results if it's used correctly. What matters isn't just rigid guidance and a sharp flattening bit, but above all milling direction, feed rate, depth of cut and a safe operating position.
In this article you'll learn why flattening should always be done with conventional milling, why climb milling can become dangerous, and how to machine large wood slabs, tree slices and epoxy tables pass by pass in a controlled way.
In short: always work in a controlled way when flattening
When flattening, the router mustn't simply be moved back and forth at random. Clean surfaces come from repeatable passes, a suitable depth of cut and a milling direction in which the cutting forces are pushed into the guide in a controlled way.
Why milling direction matters so much when flattening
When flattening, the spinning bit constantly exerts forces on the router, guide and workpiece. These forces decide whether the router runs smoothly – or whether it judders, pulls, vibrates or suddenly moves in the feed direction.
That's why milling direction isn't a detail but a key factor for safety and quality. For controlled flattening, you use conventional (up-cut) milling. That means the bit cuts into the material against the feed direction.
Controlled cut
The bit works against the feed direction. Cutting forces stay easier to control and the router is guided more steadily.
Dangerous pull
The bit can pull itself in the feed direction. This increases the risk of the router suddenly accelerating or running away.
Conventional vs. climb milling: the difference
In conventional milling, the router moves so that the cutting edge works against the feed direction. The cut builds up in a controlled way and the forces are easier to manage. This keeps the router steadier in its guide.
In climb milling it's the other way round. The cutting edge enters the material in the feed direction and can actively pull the router forward. With hand-guided routers or open router sleds this is a problem, because the operator has to absorb that pull.
| Milling type | Behaviour | Risk | Recommendation for flattening |
|---|---|---|---|
| Conventional milling | bit works against the feed direction | cutting forces easier to control | use for flattening with a router |
| Climb milling | bit enters the material in the feed direction | router can suddenly pull or accelerate | avoid for this application |
Important
When flattening large surfaces, the return stroke shouldn't be used as a cutting pass. The return movement is only for positioning for the next pass. That way every cut stays controlled and even.
Why climb milling can be dangerous when flattening
In climb milling, the bit actively pulls itself into the workpiece. If the guide has play, the cut is too deep or the operator doesn't hold back precisely, the router can suddenly accelerate. This is particularly critical on large workpieces, because long passes demand a lot of time and concentration.
Climb milling can also lead to a rougher surface. The router no longer runs evenly through the material, but is influenced more strongly by changing grain direction, knots, epoxy areas or glue lines.
Router running away
The router can suddenly pull in the feed direction and become hard to control.
More judder
Changing grain or epoxy areas can affect the router more strongly.
Poorer finish
Unsteady guidance is more likely to leave grooves, steps and visible transitions.
Safe operating position: never stand on the milling surface
When flattening, the milling surface is the danger zone. A spinning bit moves openly over the workpiece there. That's why you should never stand on the workpiece surface, lean over it or reach into the working area.
Safe operation happens from the side of the workpiece. From there the router can be guided in a controlled way without hands, upper body or legs getting near the bit. At the same time, the movement stays steadier because you don't have to work across a large slab.
Rule of thumb
When flattening, always stand to the side of the sled and guide the router so that you don't have to reach over the workpiece. This improves both safety and surface quality.
Why a push handle improves operation
On large router sleds, the router ideally isn't pushed directly by its body. A push handle allows an upright operating position, more distance from the bit and steadier guidance over long passes.
On large wood slabs or epoxy tables in particular, this makes a clear difference. Long passes become more even, the movement is less hectic and the operator tires less quickly. This has a direct effect on the finish.
Without a push handle
You work closer to the router, lean further over the workpiece and often move less steadily.
With a push handle
Operation happens from the side and more upright. The router can be moved across the surface more steadily and with more control.
Why a swivel joint on the push handle makes sense
When flattening, forces don't only act in the feed direction. Depending on wood structure, knots, bit diameter and depth of cut, lateral forces arise too. A rigid push handle is less able to compensate for these movements and can make the guidance unsteady.
A swivel joint between push handle and router base allows the force to align naturally. The operator can guide and hold back deliberately without jamming the sled. This makes the run smoother and helps produce even passes.
Why this matters in practice
Especially with knotty wood, tree slices and epoxy tables, the cutting forces change constantly. A flexible connection on the push handle helps absorb these forces in a more controlled way.
How to flatten properly: pass by pass
Flattening isn't random back-and-forth movement over the workpiece. Clean results come from a repeatable system. Each pass is milled in a controlled way, then the router is moved out of the material and repositioned for the next pass.
Position the router outside the material
Set the router so that the bit is clear before the start of the pass. This way the cut starts under control and not in the middle of the material.
Feed into the material using conventional milling
Guide the router so that the bit works against the feed direction. The movement should be smooth, even and without jerks.
Run the pass all the way to the end
Complete the pass in one controlled stroke to the end. Avoid stopping in the material, as this can later show up as marks.
Move the bit out of the material
At the end of the pass, move the router completely out of the cut. Only then step over sideways for the next pass.
Step over and start again
Move the router over by a suitable pass width. The passes should overlap slightly so that no unmachined strips remain.
Repeat the process
Repeat this sequence until the entire surface has been machined. If needed, run another pass afterwards with a small additional depth of cut.
The right depth of cut when flattening
The depth of cut has a big influence on safety, cut quality and tool life. Too much material at once leads to higher cutting forces, more vibration, more load on the router and a poorer surface.
In practice, several shallow passes are usually much better than one aggressive deep cut. With large flattening bits with indexable inserts, a moderate depth of cut is especially important, because a lot of material is removed across the full width of the bit.
| Depth of cut | Effect | Assessment |
|---|---|---|
| very shallow | smooth running, good surface, low load | ideal for the final pass |
| moderate | good stock removal with load still under control | sensible for most passes |
| too deep | vibration, heat, tear-out, higher load | avoid |
Don't max out
Even if a powerful router can handle more material, that's not automatically the best setting. For a clean surface, controlled running counts for more than maximum removal per pass.
How do you avoid grooves and waves?
Grooves and waves usually aren't caused by a single mistake, but by a combination of too deep a cut, unsteady feed, too little overlap, play in the guide or changing milling direction.
If you always mill in the same direction, overlap the passes slightly and work with a moderate depth of cut, you'll reduce these errors considerably. A rigid router sled is the technical foundation for this – correct operation makes sure that potential is actually used.
- always use conventional milling
- use the return stroke only for positioning
- let the passes overlap slightly
- don't cut too deep
- keep an even feed rate
- check the bit regularly
Common operating mistakes when flattening
Milling back and forth
If both directions are used for cutting, the forces change constantly. This increases the risk of grooves and an uneven surface.
Pushing too fast
Too fast a feed rate can worsen the surface and put more load on the machine.
Stopping in the material
Stopping mid-cut can cause burn marks, dips or visible marks.
Reaching across the slab
This is unsafe and makes even movement harder. Operation should happen from the side.
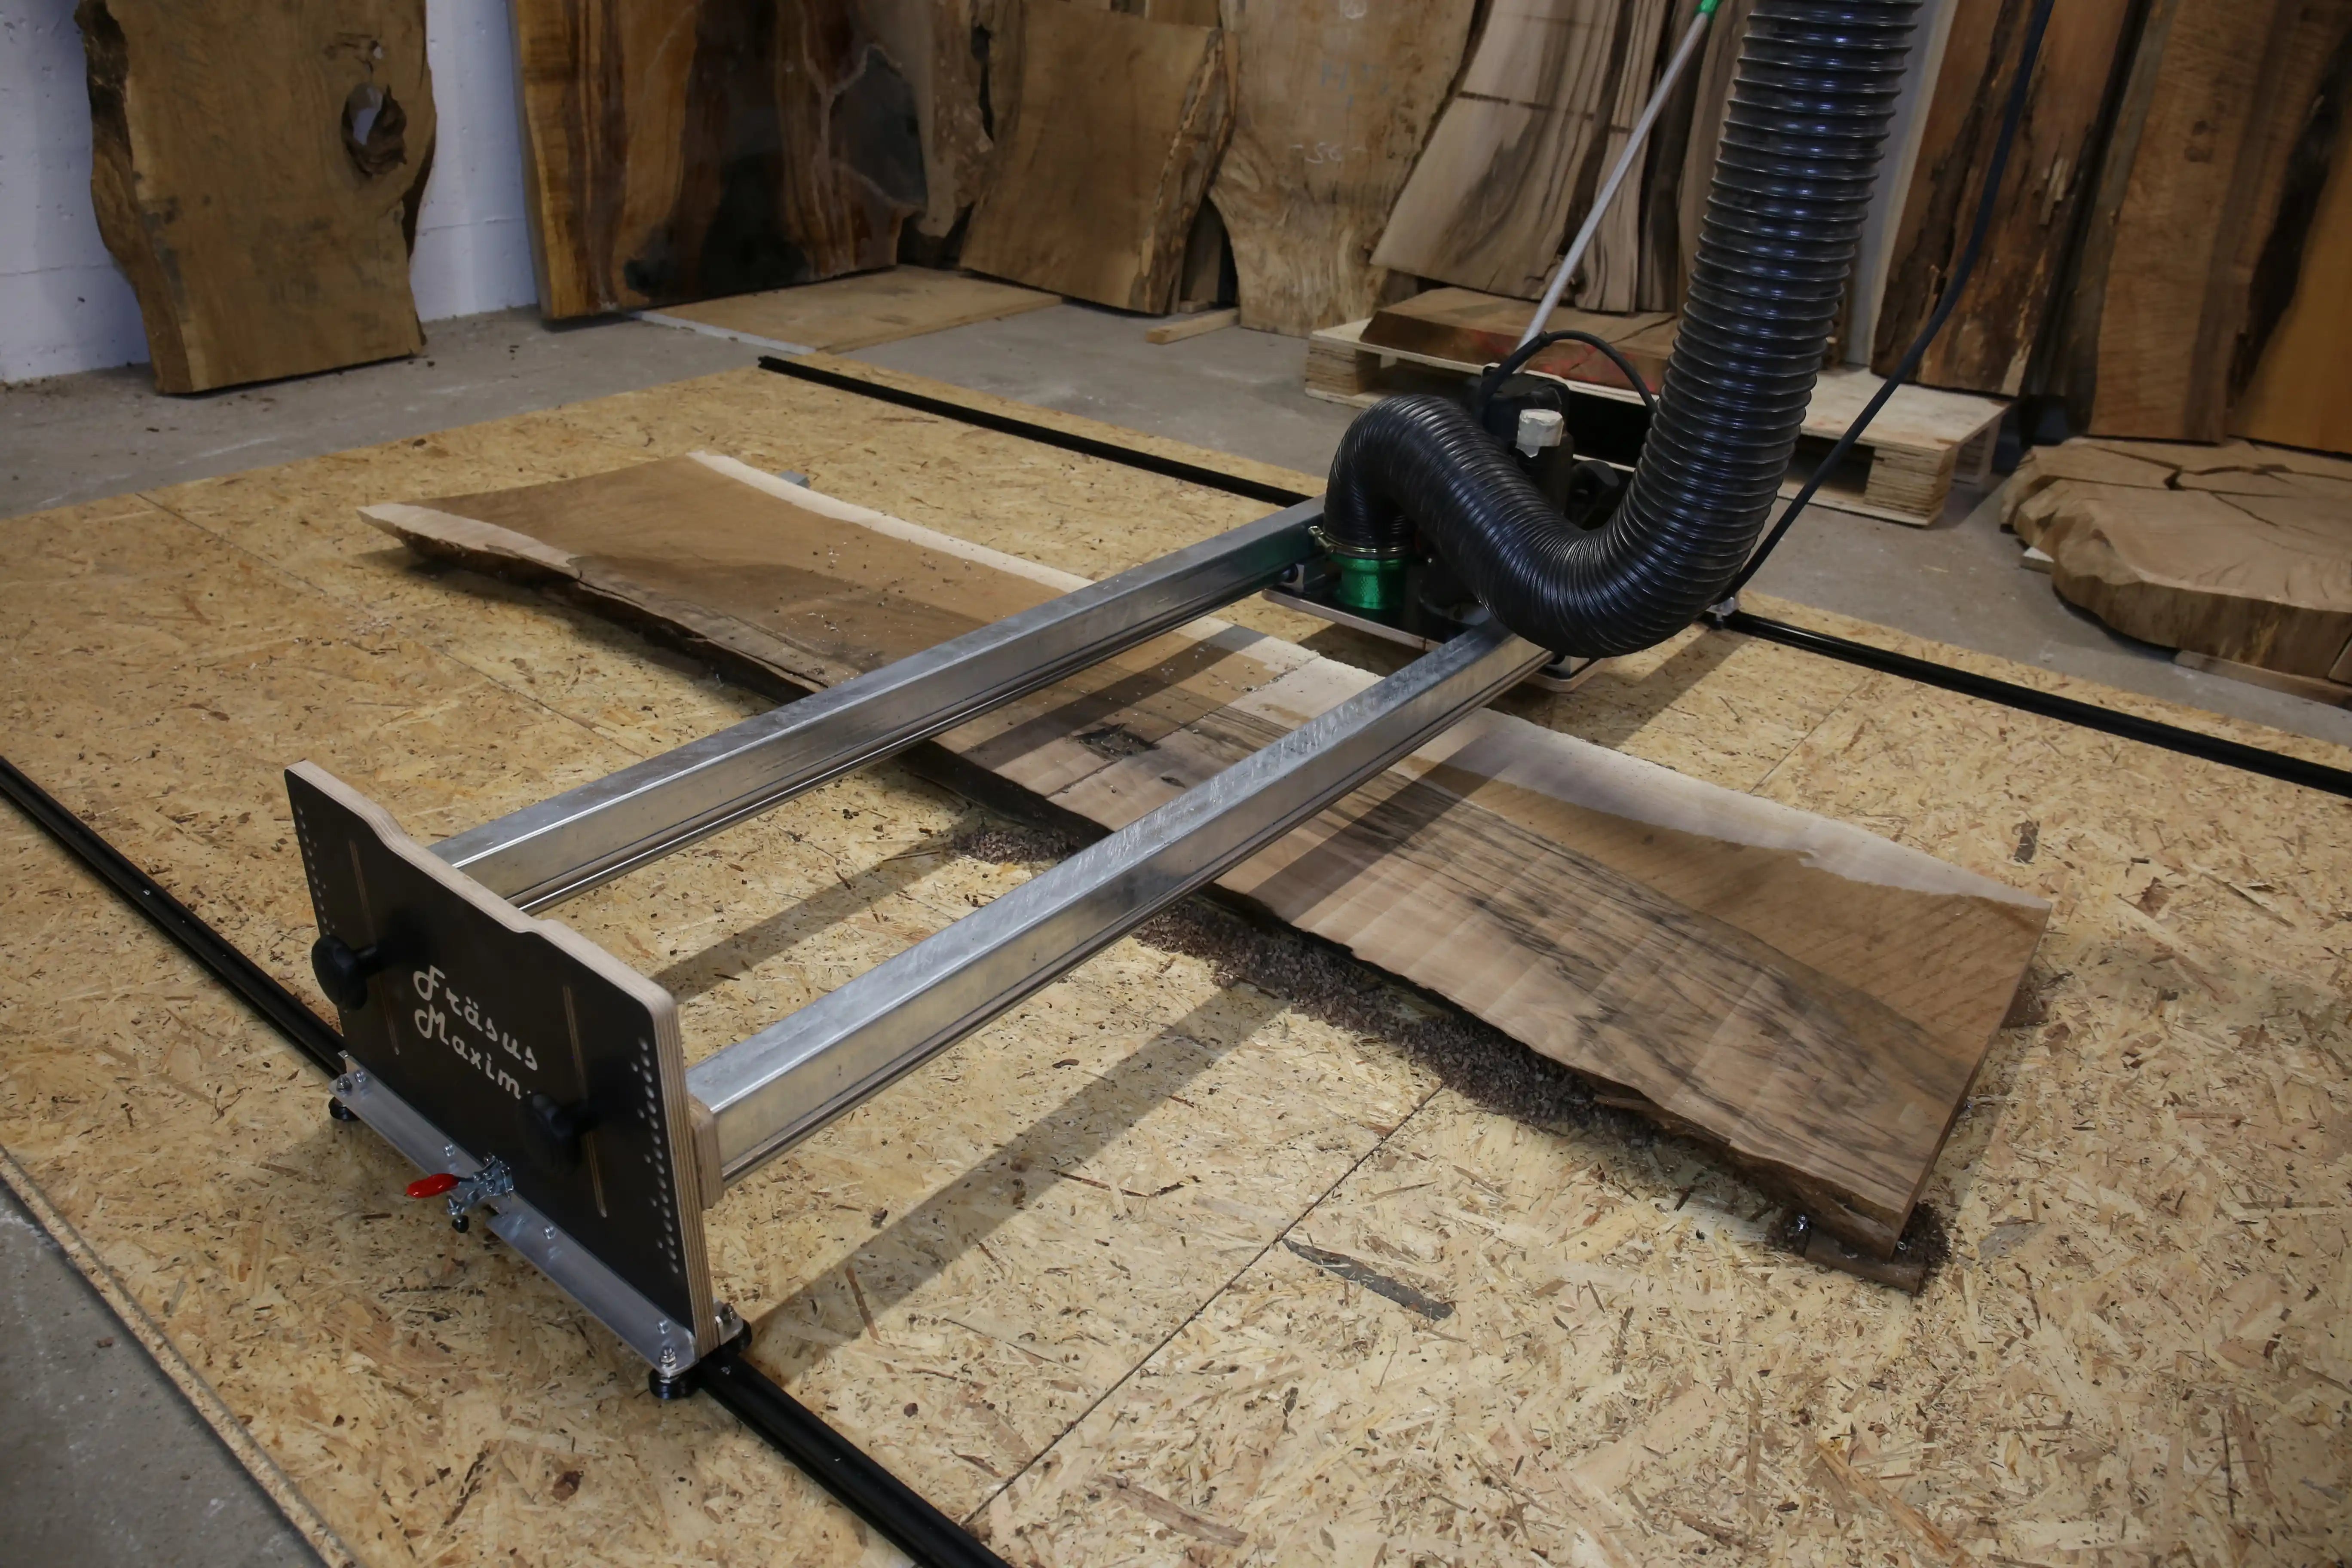
Developed for controlled flattening: Fräsus Maximus
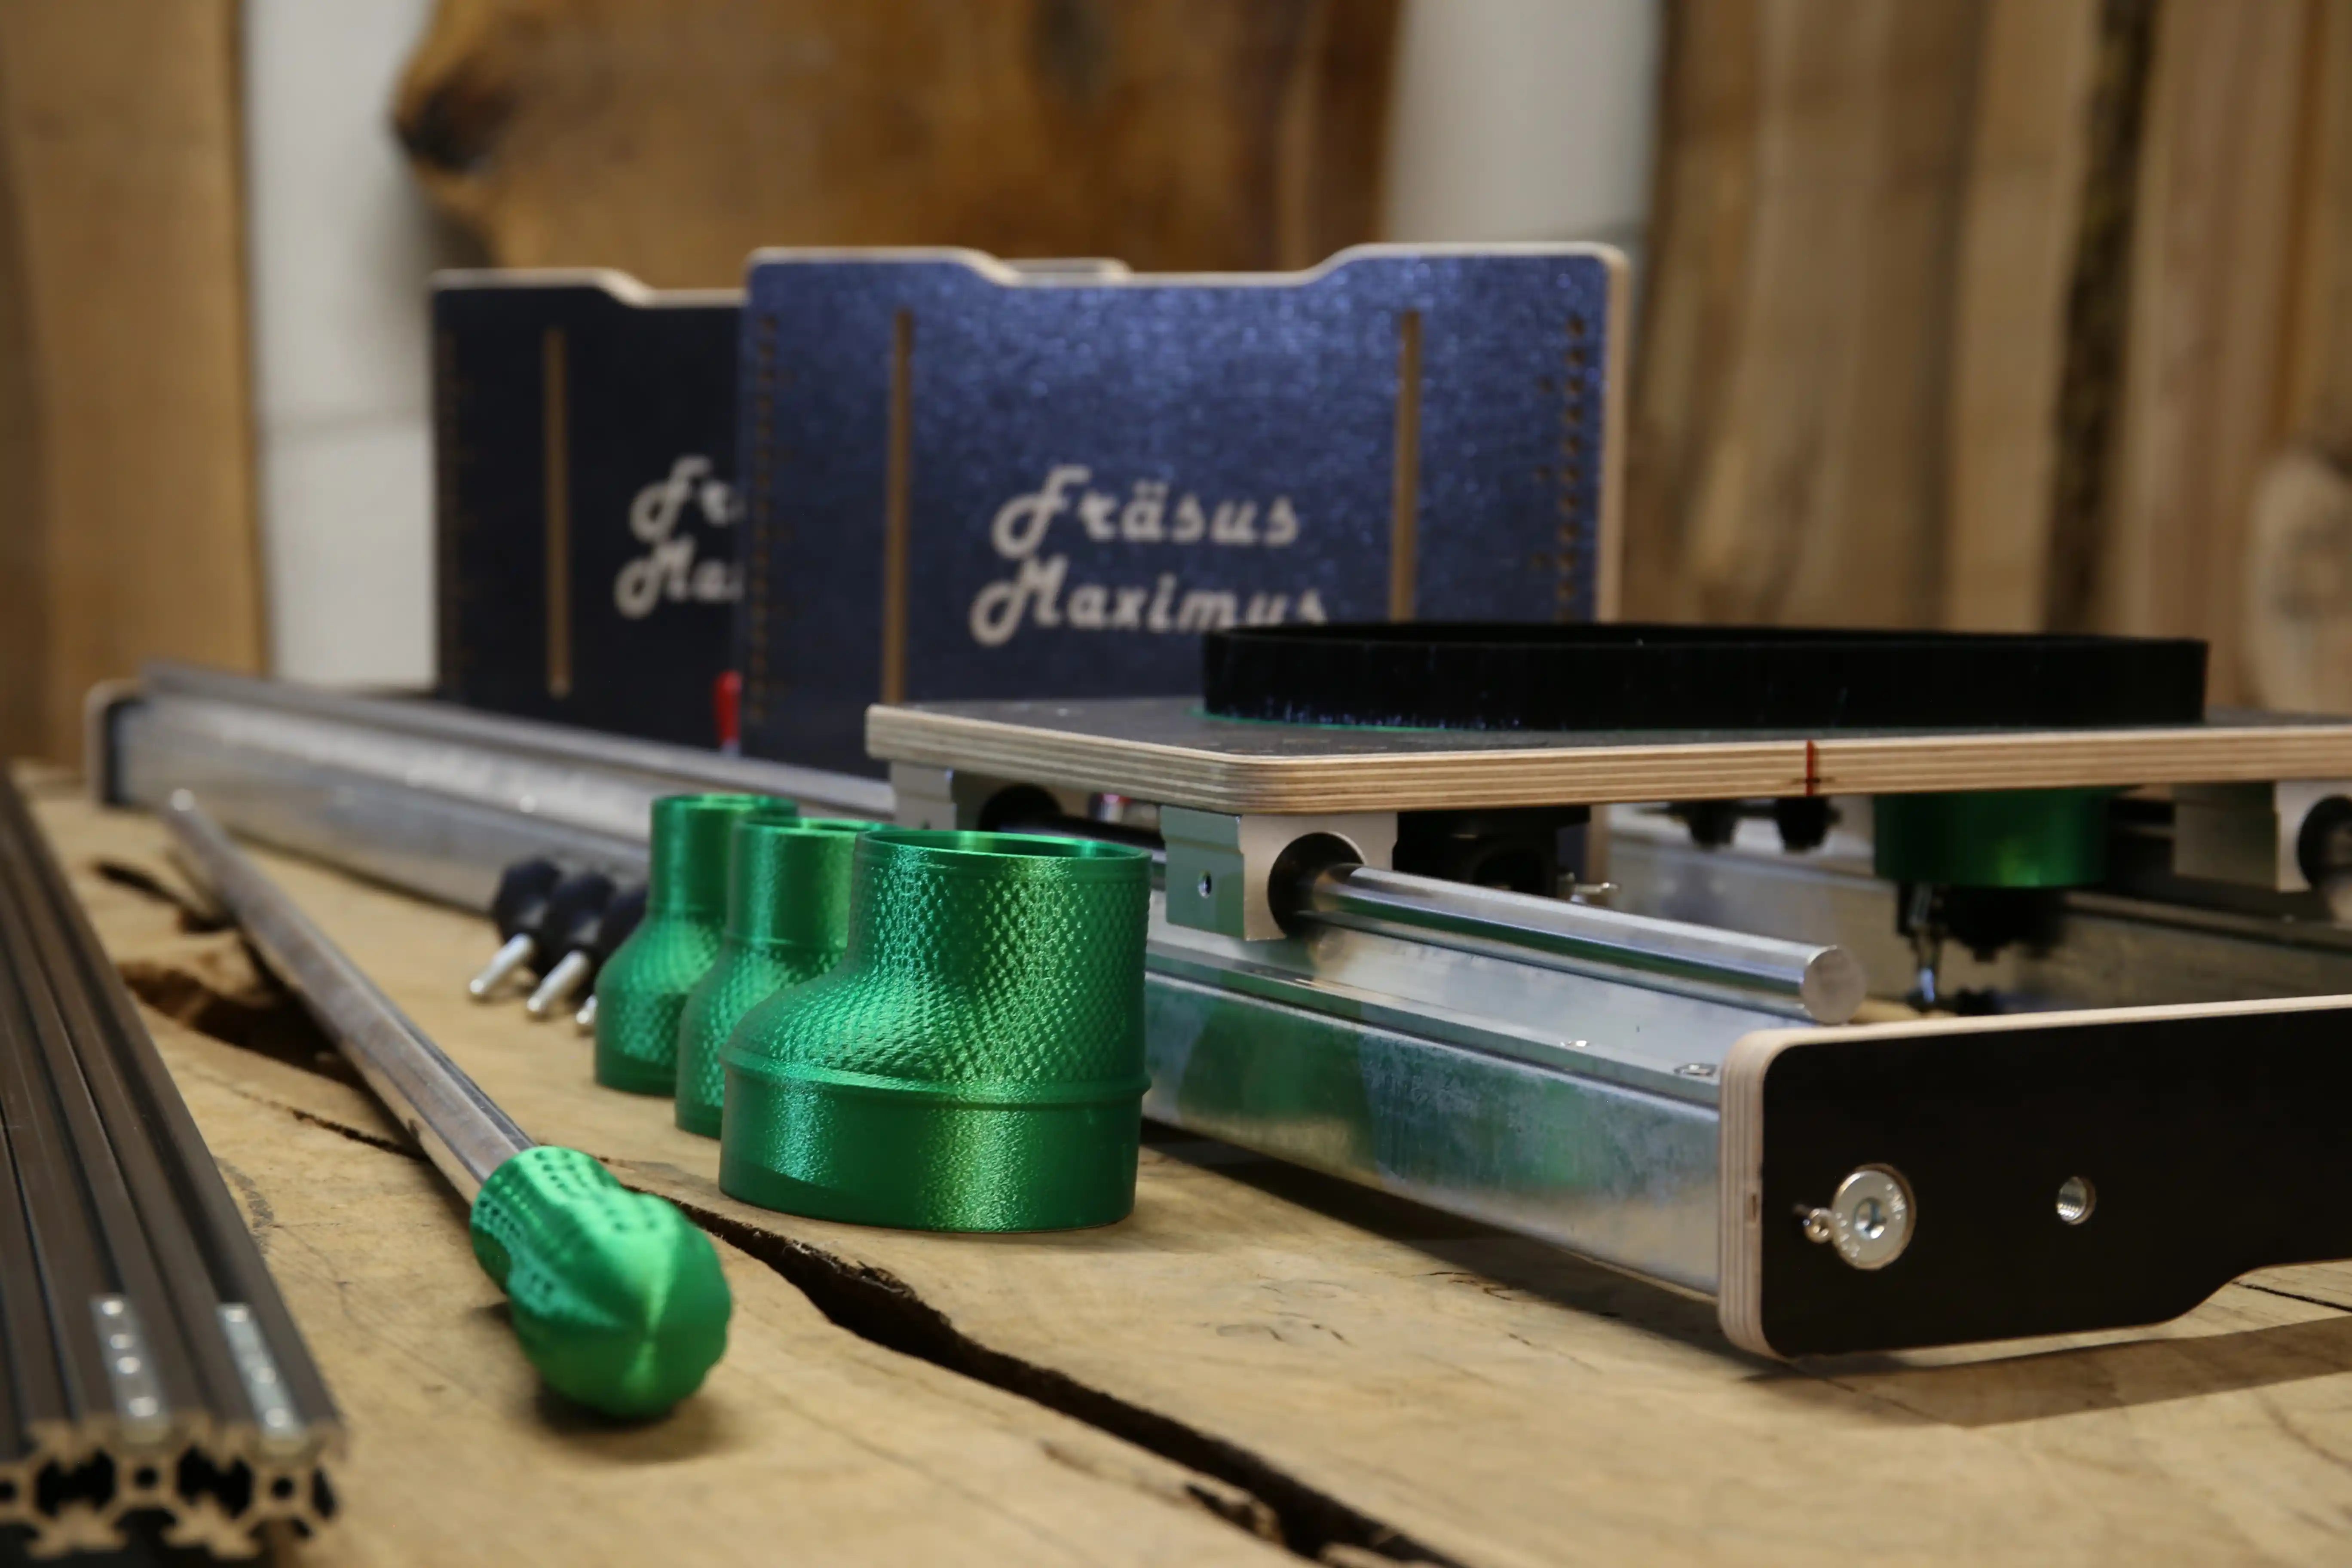
The Fräsus Maximus was developed so that large wood slabs, tree slices and epoxy tables can be machined in a controlled way. The rigid steel construction, side operation and push handle with swivel joint help guide the router smoothly and safely across the workpiece.
- side operation without standing on the milling surface
- push handle for upright, controlled guidance
- swivel joint to compensate for lateral forces
- rigid guidance for repeatable passes
- suitable for large wood slabs, tree slices and epoxy tables
FAQ: Common questions about correct operation
In which direction should you flatten with a router?
Flattening should be done with conventional milling. The bit cuts into the material against the feed direction. This gives cutting forces that are easier to control and steadier guidance.
Why is climb milling dangerous when flattening?
In climb milling, the bit can pull itself into the workpiece in the feed direction. As a result, the router can suddenly accelerate or run away. This is particularly dangerous on large open surfaces.
How deep should you cut when flattening?
Choose a moderate depth of cut. Several shallow passes usually give a better surface, less vibration and longer bit life than a single deep cut.
Why do grooves appear when flattening?
Grooves often come from play in the guide, too deep a cut, uneven feed, too little overlap or changing milling direction. A rigid sled and an even procedure reduce these marks considerably.
Why does a push handle make sense when flattening?
A push handle allows an upright operating position from the side with more distance from the bit. This makes the router easier to guide steadily, and the operator doesn't have to reach over the milling surface.
Conclusion: good operation determines surface and safety
A router sled is only as good as the way it's used. If you use conventional milling, guide the router from the side in a controlled way, don't reach over the milling surface and work pass by pass with a moderate depth of cut, you'll get much cleaner results.
What matters is a repeatable sequence: start the router outside the material, run it through the pass with conventional milling, move it out of the cut, step over and start again. That's how you get flat surfaces without unnecessary grooves, waves or safety risks.
Want to flatten large wood slabs safely and cleanly?
The Fräsus Maximus was developed for controlled flattening of large wood slabs, tree slices and epoxy tables – with rigid guidance, push handle and side operation.

Share:
Buying a Router Sled – What Really Matters
Which Flattening Bit for Wood Slabs? 35–60 mm Explained