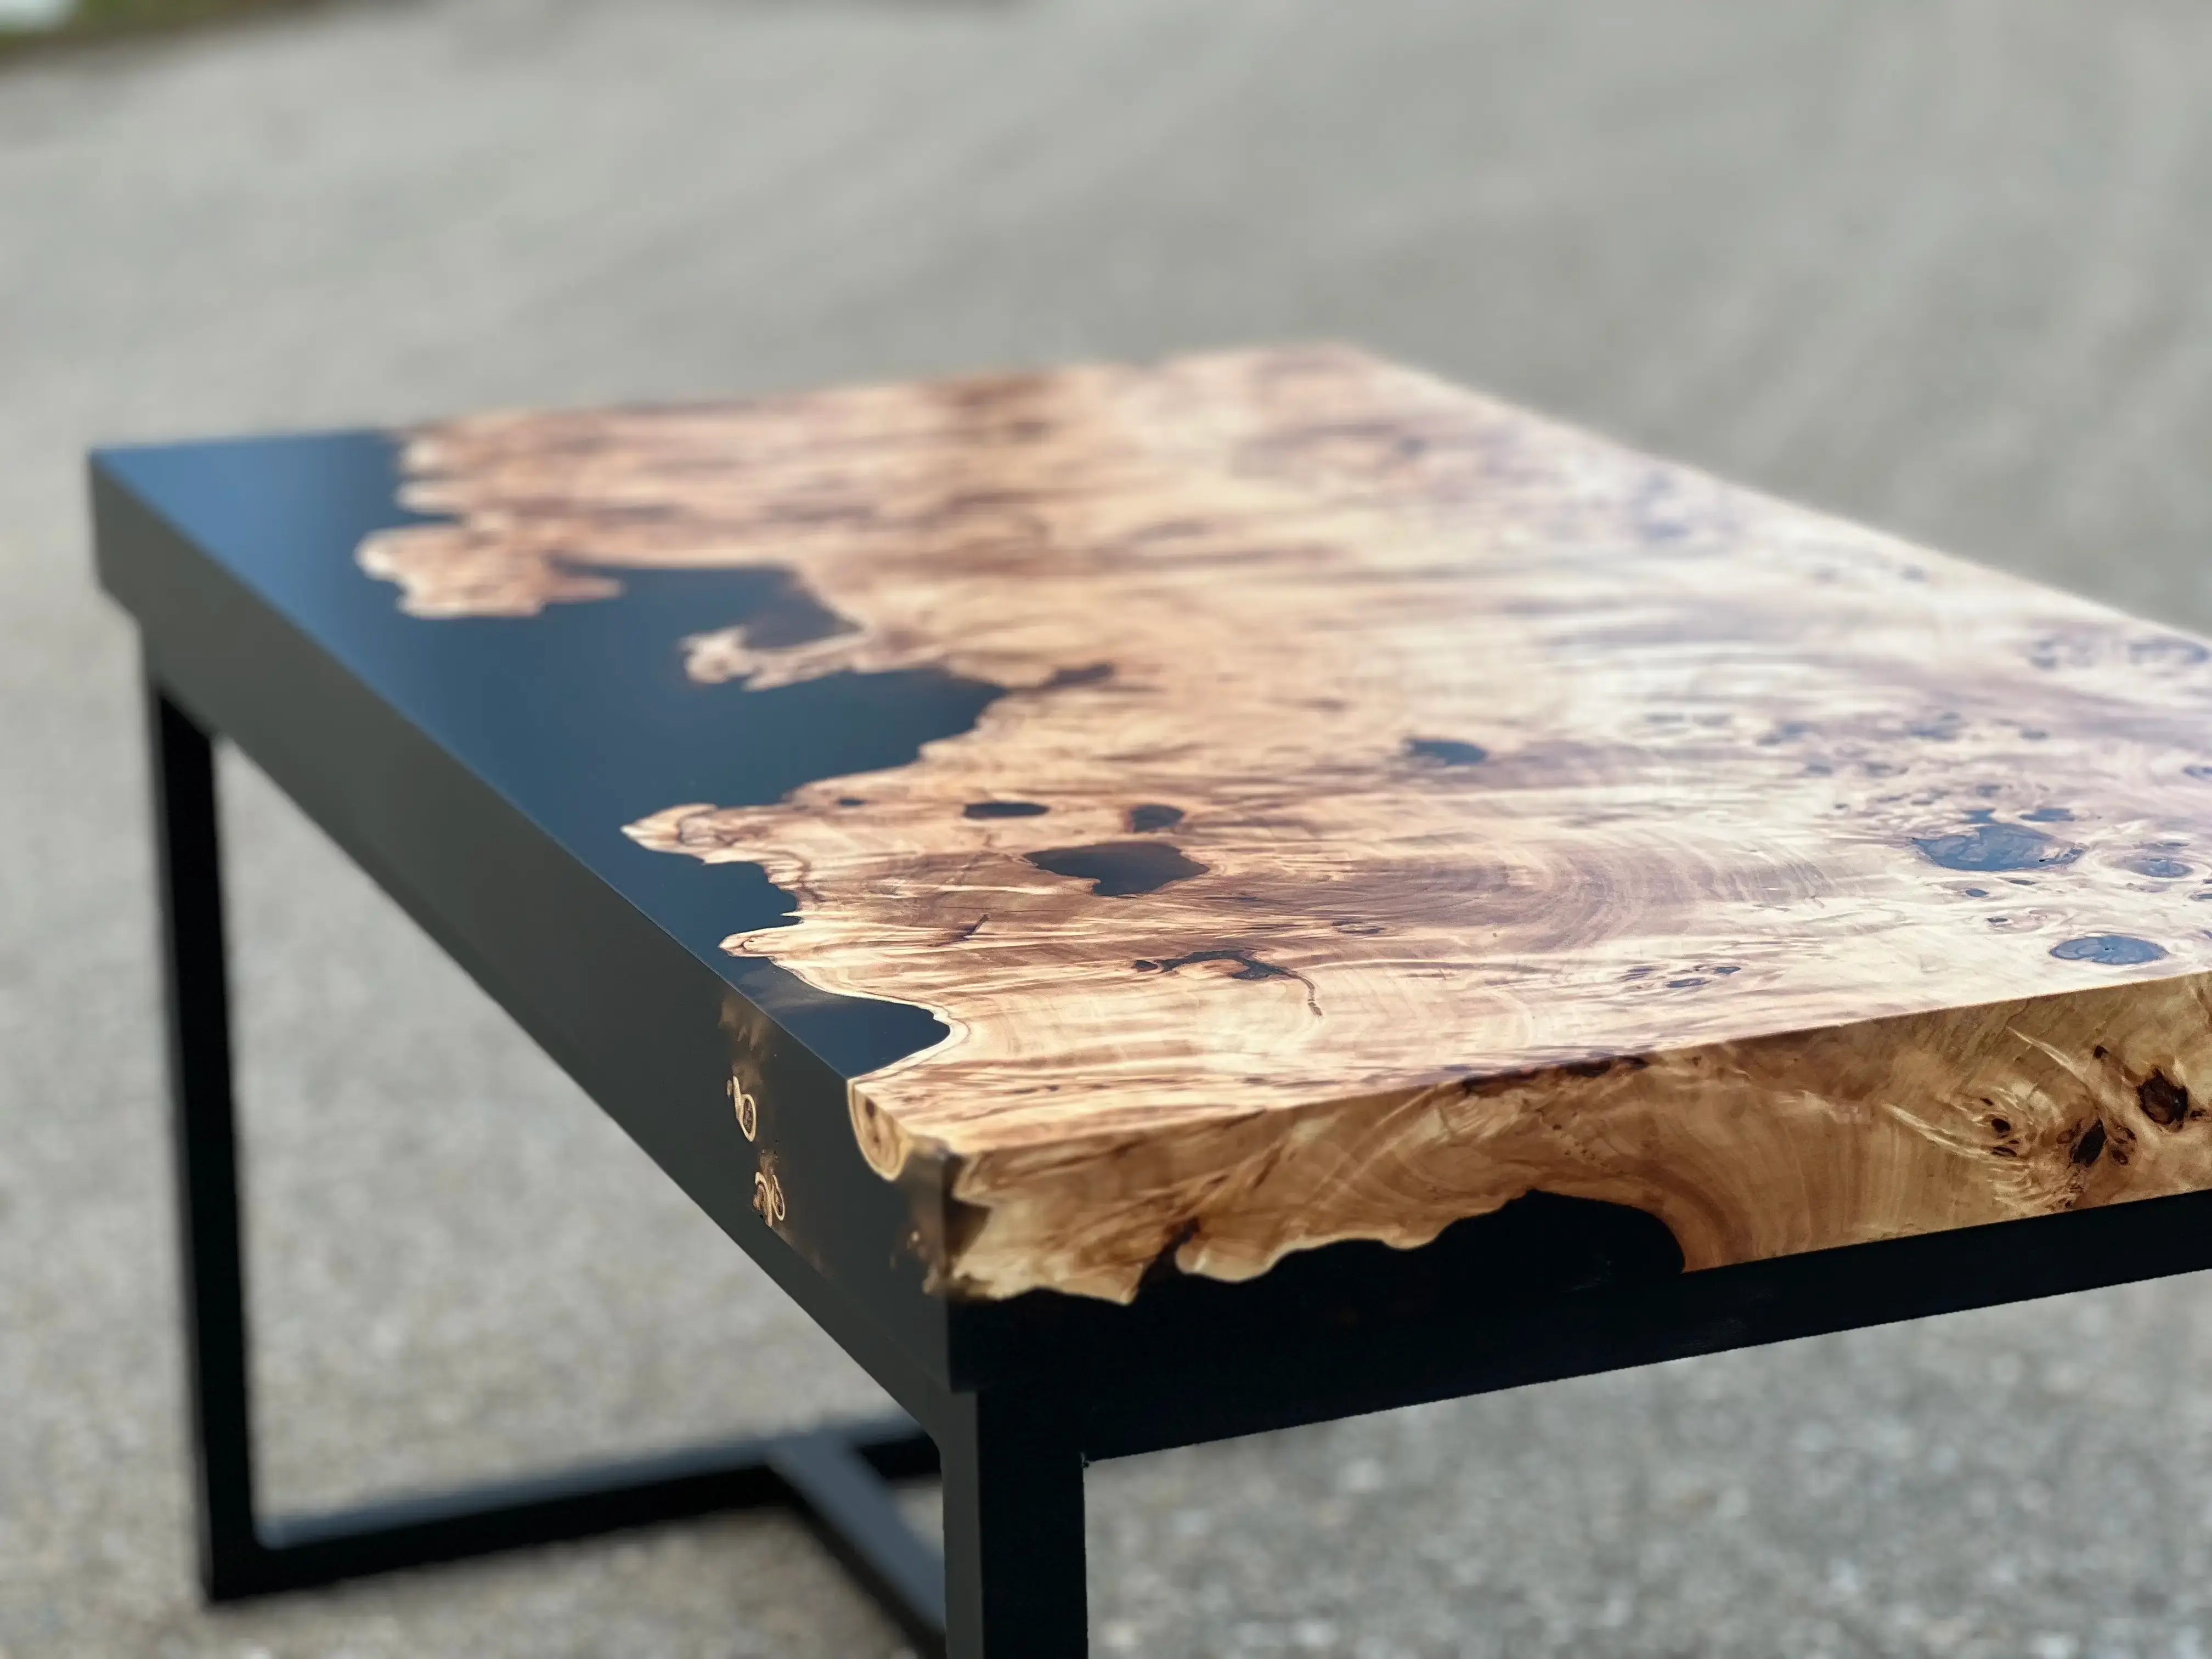
An epoxy table doesn't just stand or fall with the wood. Above all, it depends on the epoxy resin used. If resin and hardener don't react properly, you get tacky spots, streaks, bubbles, uneven hardness or problems when flattening, sanding and polishing.
In this article you'll learn how to recognise a good epoxy resin for tables, why consistent quality matters more than the lowest price per litre, and why the resin also has to suit later machining with a router, flattening bit and abrasives.
In short: for epoxy tables, reproducibility is what counts
A good epoxy resin for tables doesn't just have to look clear. It has to cure reliably, stay homogeneous, mill well and give a clean surface after sanding and polishing. Especially with large table tops, consistent quality matters more than the lowest possible price.
Why the quality of the epoxy resin is so important
Epoxy resin isn't an ordinary varnish or a simple adhesive. It's created by a chemical reaction between resin and hardener. Only if both components are mixed in the right ratio and the raw materials react consistently do you get a homogeneous, fully cured material.
With an epoxy table this is particularly critical. The surface will later be visible over a large area, often flattened, sanded and polished. Small flaws in the resin therefore show up not only visually but also during machining.
Pouring
The resin has to flow into the mould with few bubbles, evenly and without streaks.
Curing
The reaction has to run completely and evenly, without soft or tacky areas.
Machining
The material has to flatten, sand and polish cleanly.
What can happen with poor or unsuitable epoxy resin
Many problems only become visible late. Right after pouring, the slab may still look good. Then, when milling, sanding or polishing, matte spots, smearing, soft zones or uneven transitions between wood and resin suddenly appear.
| Problem | Possible cause | Consequence when machining |
|---|---|---|
| Tacky spots | wrong mixing ratio, incomplete reaction or poor mixing | sandpaper clogs, surface stays smeary |
| Streaks or cloudiness | unsuitable resin, moisture, wrong temperature or poor mixing | visual flaws remain visible even after polishing |
| Varying hardness | inhomogeneous reaction or fluctuating product quality | bit runs unsteadily, steps or matte spots appear |
| Bubbles and voids | mixing too fast, air in the wood or unsuitable pouring conditions | reworking, filling and sanding become much more time-consuming |
Important
The lowest price per litre is rarely the best decision for an epoxy table. If a project fails because of tacky spots, streaks or poor polishability, the wood, working time and sanding effort cost far more than you saved on the resin.
How do you recognise a good epoxy resin for tables?
A good epoxy resin for epoxy tables should suit the pour depth, the desired look and the later machining. It's not just about the resin being clear. It also has to offer a controllable working time, reliable curing and consistent final hardness.
- suitable for thicker pours or table projects
- consistent viscosity and reaction
- clean, transparent curing
- good sandability and polishability
- predictable working time
- clear information on mixing ratio and pour depth
Don't underestimate mixing ratio, temperature and pour depth
Even a good epoxy resin can give poor results if it's processed incorrectly. The mixing ratio must be followed exactly. Resin and hardener also have to be mixed thoroughly so that no unreacted areas remain.
Temperature plays a big role too. If it's too cold, the reaction can be slower or incomplete. If it's too warm or too much mass is poured at once, the reaction can accelerate too strongly. That's why the manufacturer's specifications for room temperature, pour depth and working time should always be followed.
Exact and thorough
Resin and hardener must be weighed out in the specified ratio and mixed evenly. Unmixed residue on the side or bottom of the cup can stay tacky later.
Temperature and dust
A clean, low-dust environment and a suitable temperature help reduce bubbles, inclusions and uneven curing.
Why the epoxy resin is crucial when flattening
When flattening, wood and epoxy meet the flattening bit directly. You notice immediately whether the resin has cured evenly. Resin that's too soft can smear, resin that's too brittle can chip, and inhomogeneous areas can lead to grooves, steps or matte spots.
A high-quality, evenly cured epoxy behaves much more predictably when milled. The transition between wood and resin can be machined more cleanly, the surface becomes more even and the sanding rework is reduced.
Too soft
The resin can smear, stick to the cutting edges and clog abrasives more quickly.
Too brittle
The resin can splinter or chip at edges, especially with too aggressive a depth of cut.
Homogeneous
The bit runs more smoothly, transitions are cleaner and the surface is easier to control.
Flattening, sanding and polishing: the process chain has to fit together
An epoxy table isn't finished after pouring. Usually the slab first has to be flattened, then sanded and finally oiled, lacquered or polished. Each step builds on the previous one.
If the resin smears or chips when milling, the sanding effort increases. If the surface reacts with varying hardness when sanding, matte zones or unevenness appear. That's why good epoxy resin isn't just a visual issue but a machining issue too.
Pour the epoxy cleanly
Mixing ratio, pour depth, temperature and working time have to suit the product. Careful preparation reduces later errors.
Let it cure fully
The slab should only be machined once the resin has cured sufficiently. Milling or sanding too early can cause smearing and matte spots.
Flatten with a sharp flattening bit
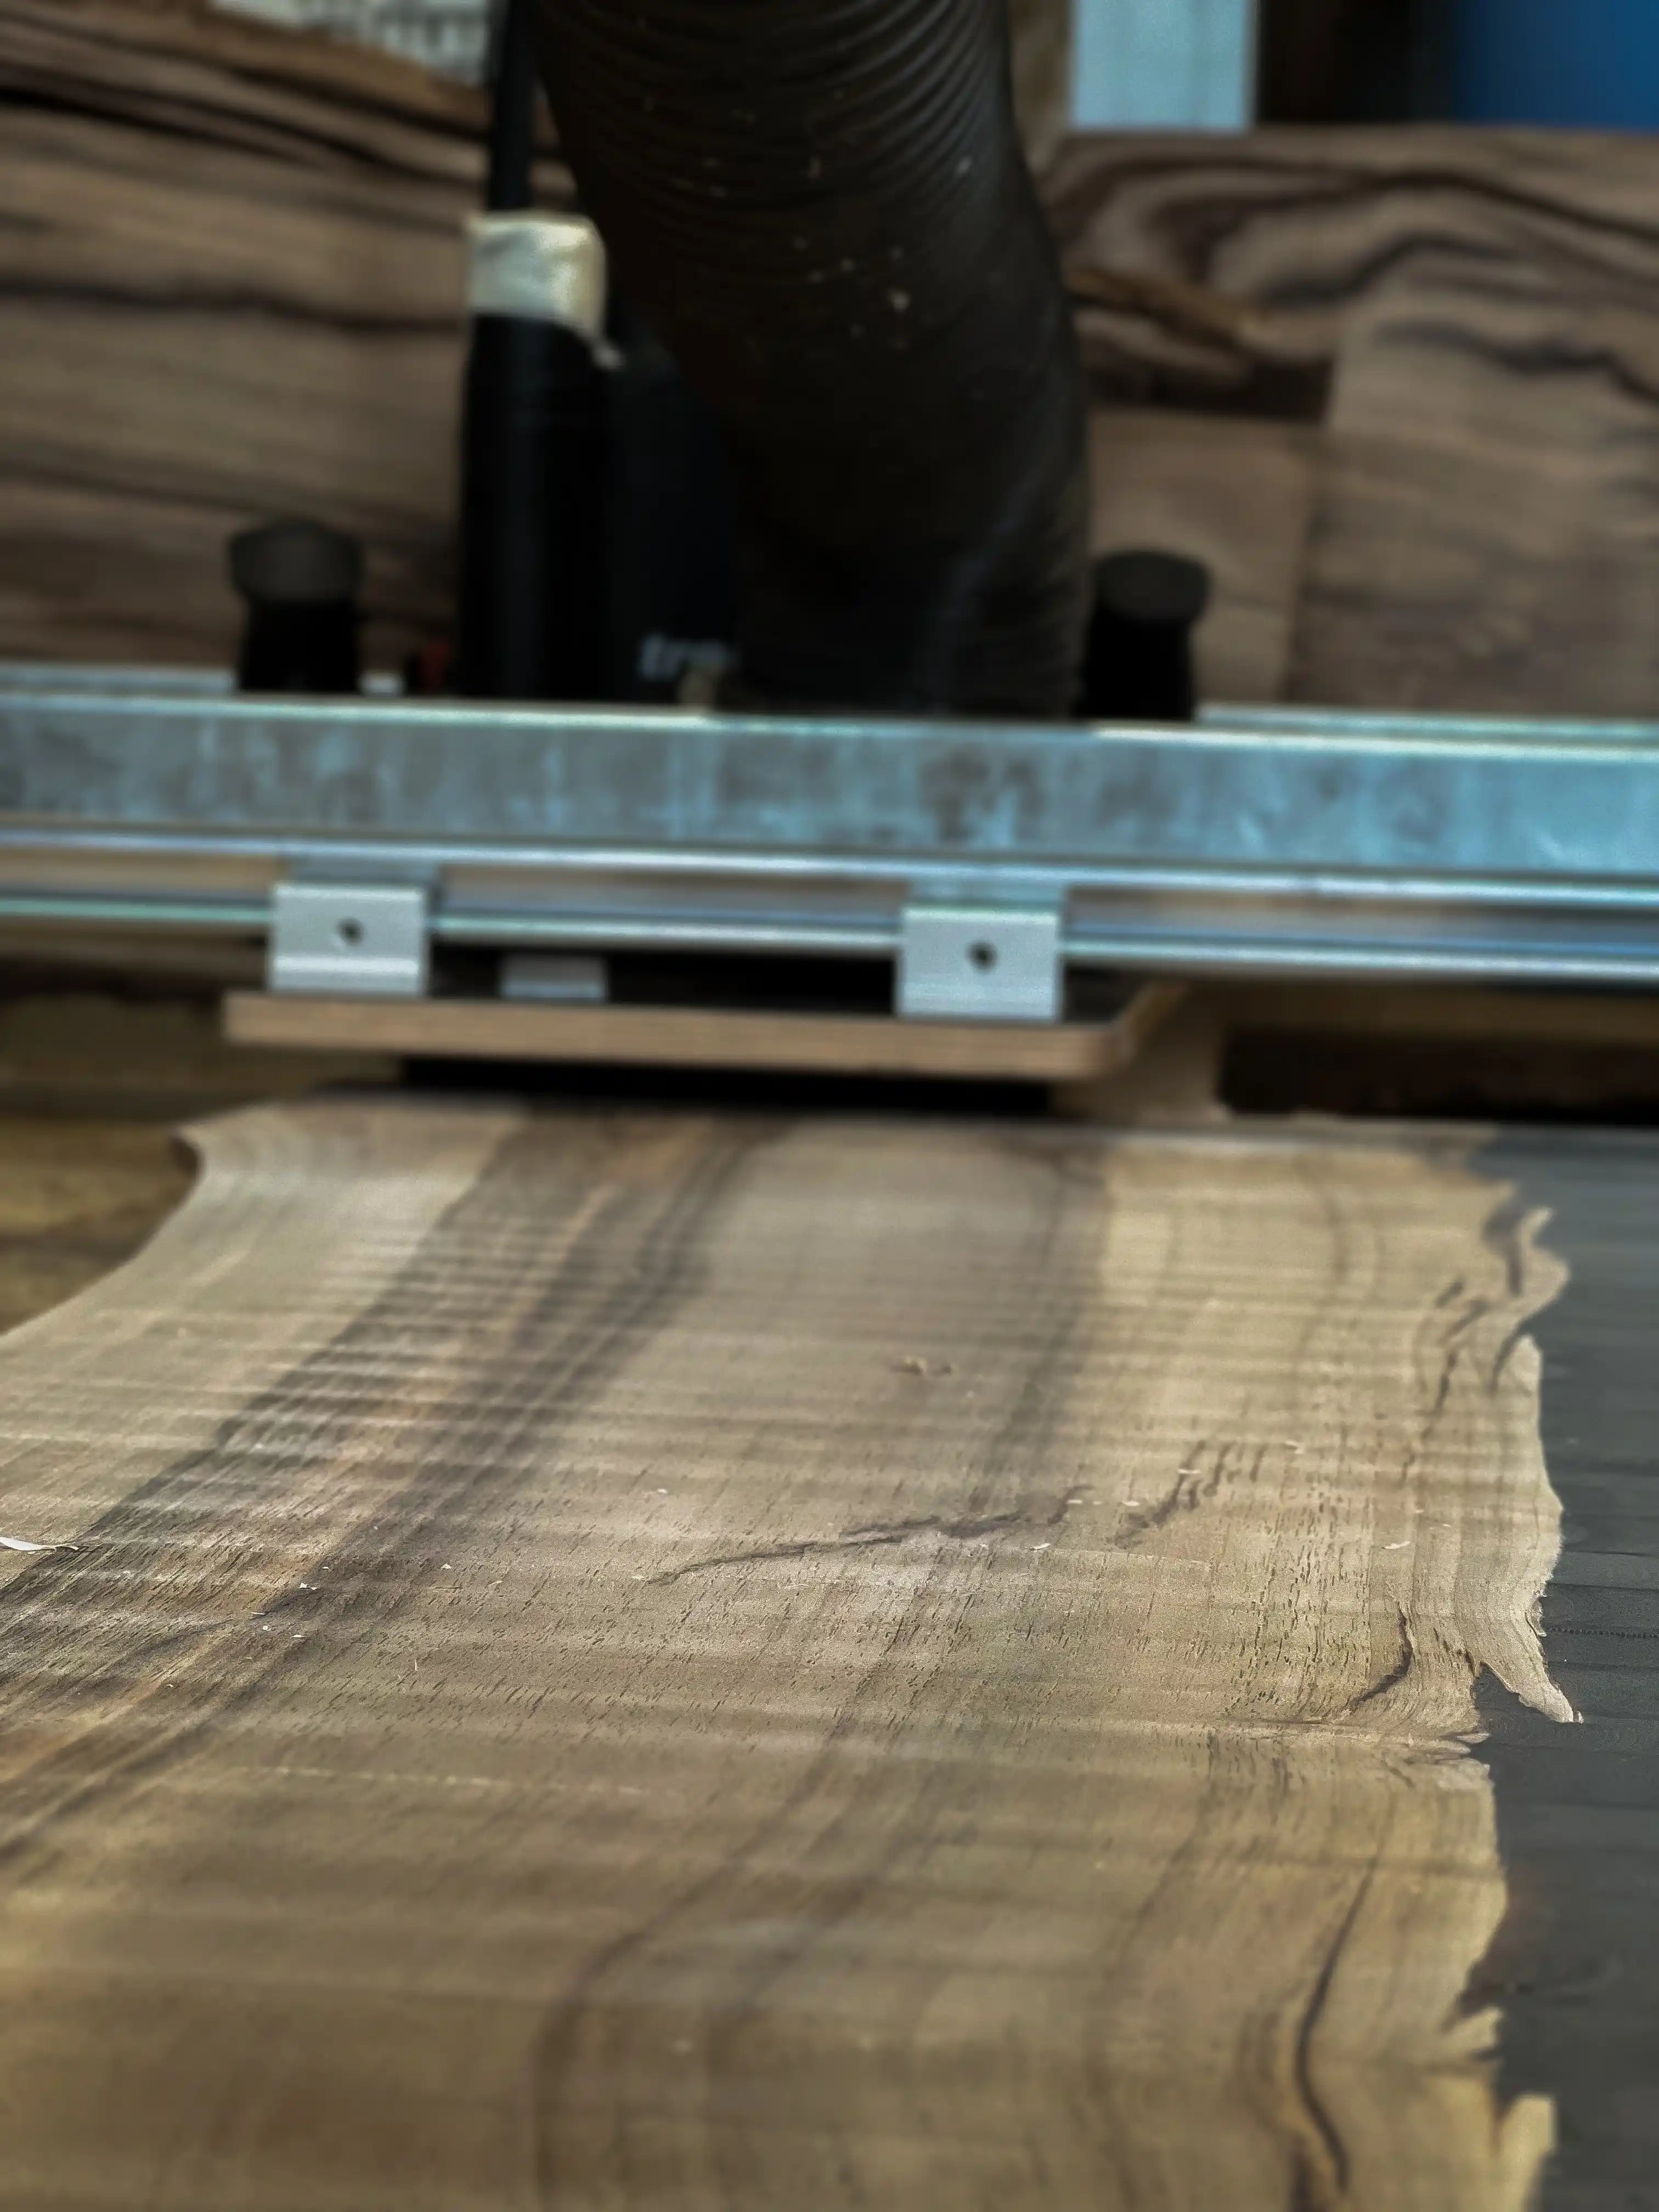
A suitable flattening bit, a small depth of cut and rigid guidance help bring wood and epoxy cleanly into one plane.
Sand systematically
After milling, the surface is sanded through sensible grit steps. Skipping grits often leads to visible sanding marks.
Choose the right finish
Depending on the desired look, the surface can be oiled, lacquered or polished. What matters is that wood and epoxy are prepared evenly.
Which flattening bit is suitable for epoxy tables?
For epoxy tables, flattening bits with indexable inserts make particular sense. Epoxy resin can be harder on cutting edges than pure wood, especially when pigments, fillers, dust or small inclusions are present. Replaceable edges are therefore practical and economical in the long run.
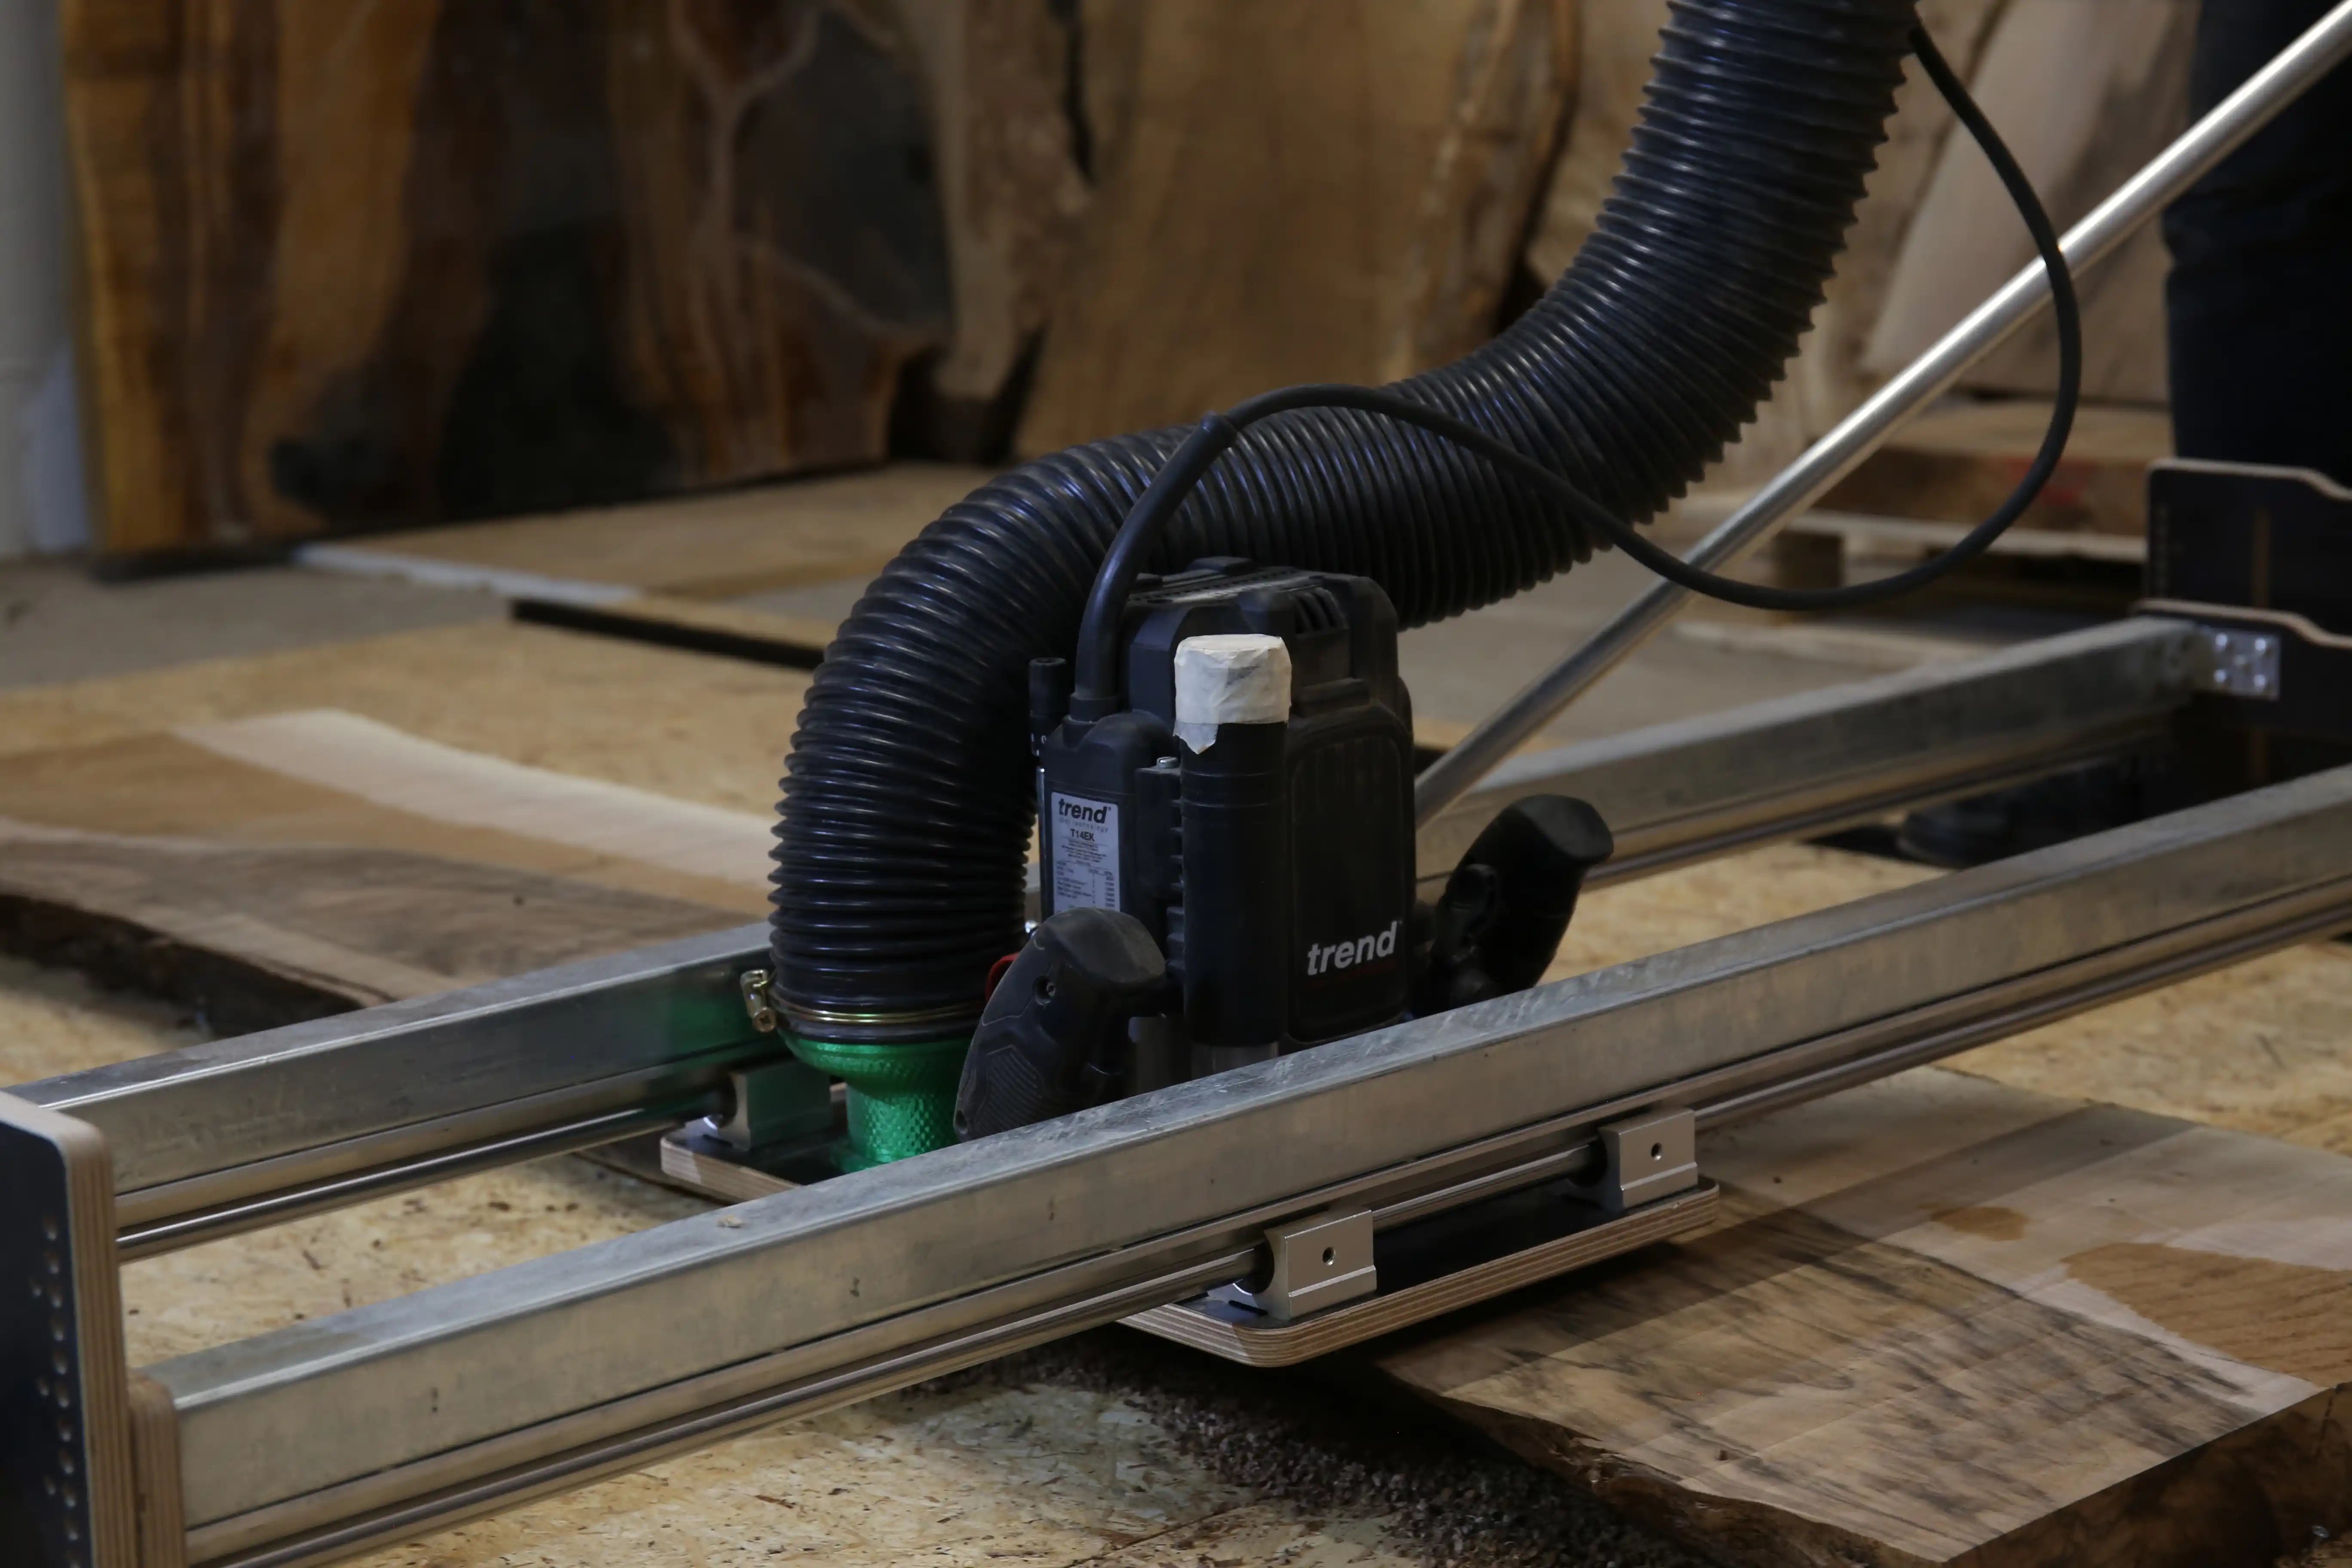
The bit diameter should suit the router and the router sled. For many applications, 35 to 60 mm is a sensible range. A larger bit reduces the number of passes, but also generates higher cutting forces.
Practical tip
With epoxy tables, a smooth cut is more important than maximum stock removal. Better several shallow passes with a sharp bit than one deep cut with vibration, heat and grooves.
Why a rigid router sled is particularly important for epoxy tables
Epoxy is more homogeneous than wood, but often harder and less forgiving when milled. Any vibration, deflection or play in the guide can show up as a groove, matte spot or visible transition.
A rigid router sled ensures that the router doesn't follow the irregular slab but is guided in a defined plane. This is particularly important when wood and epoxy need to be joined cleanly in one surface.
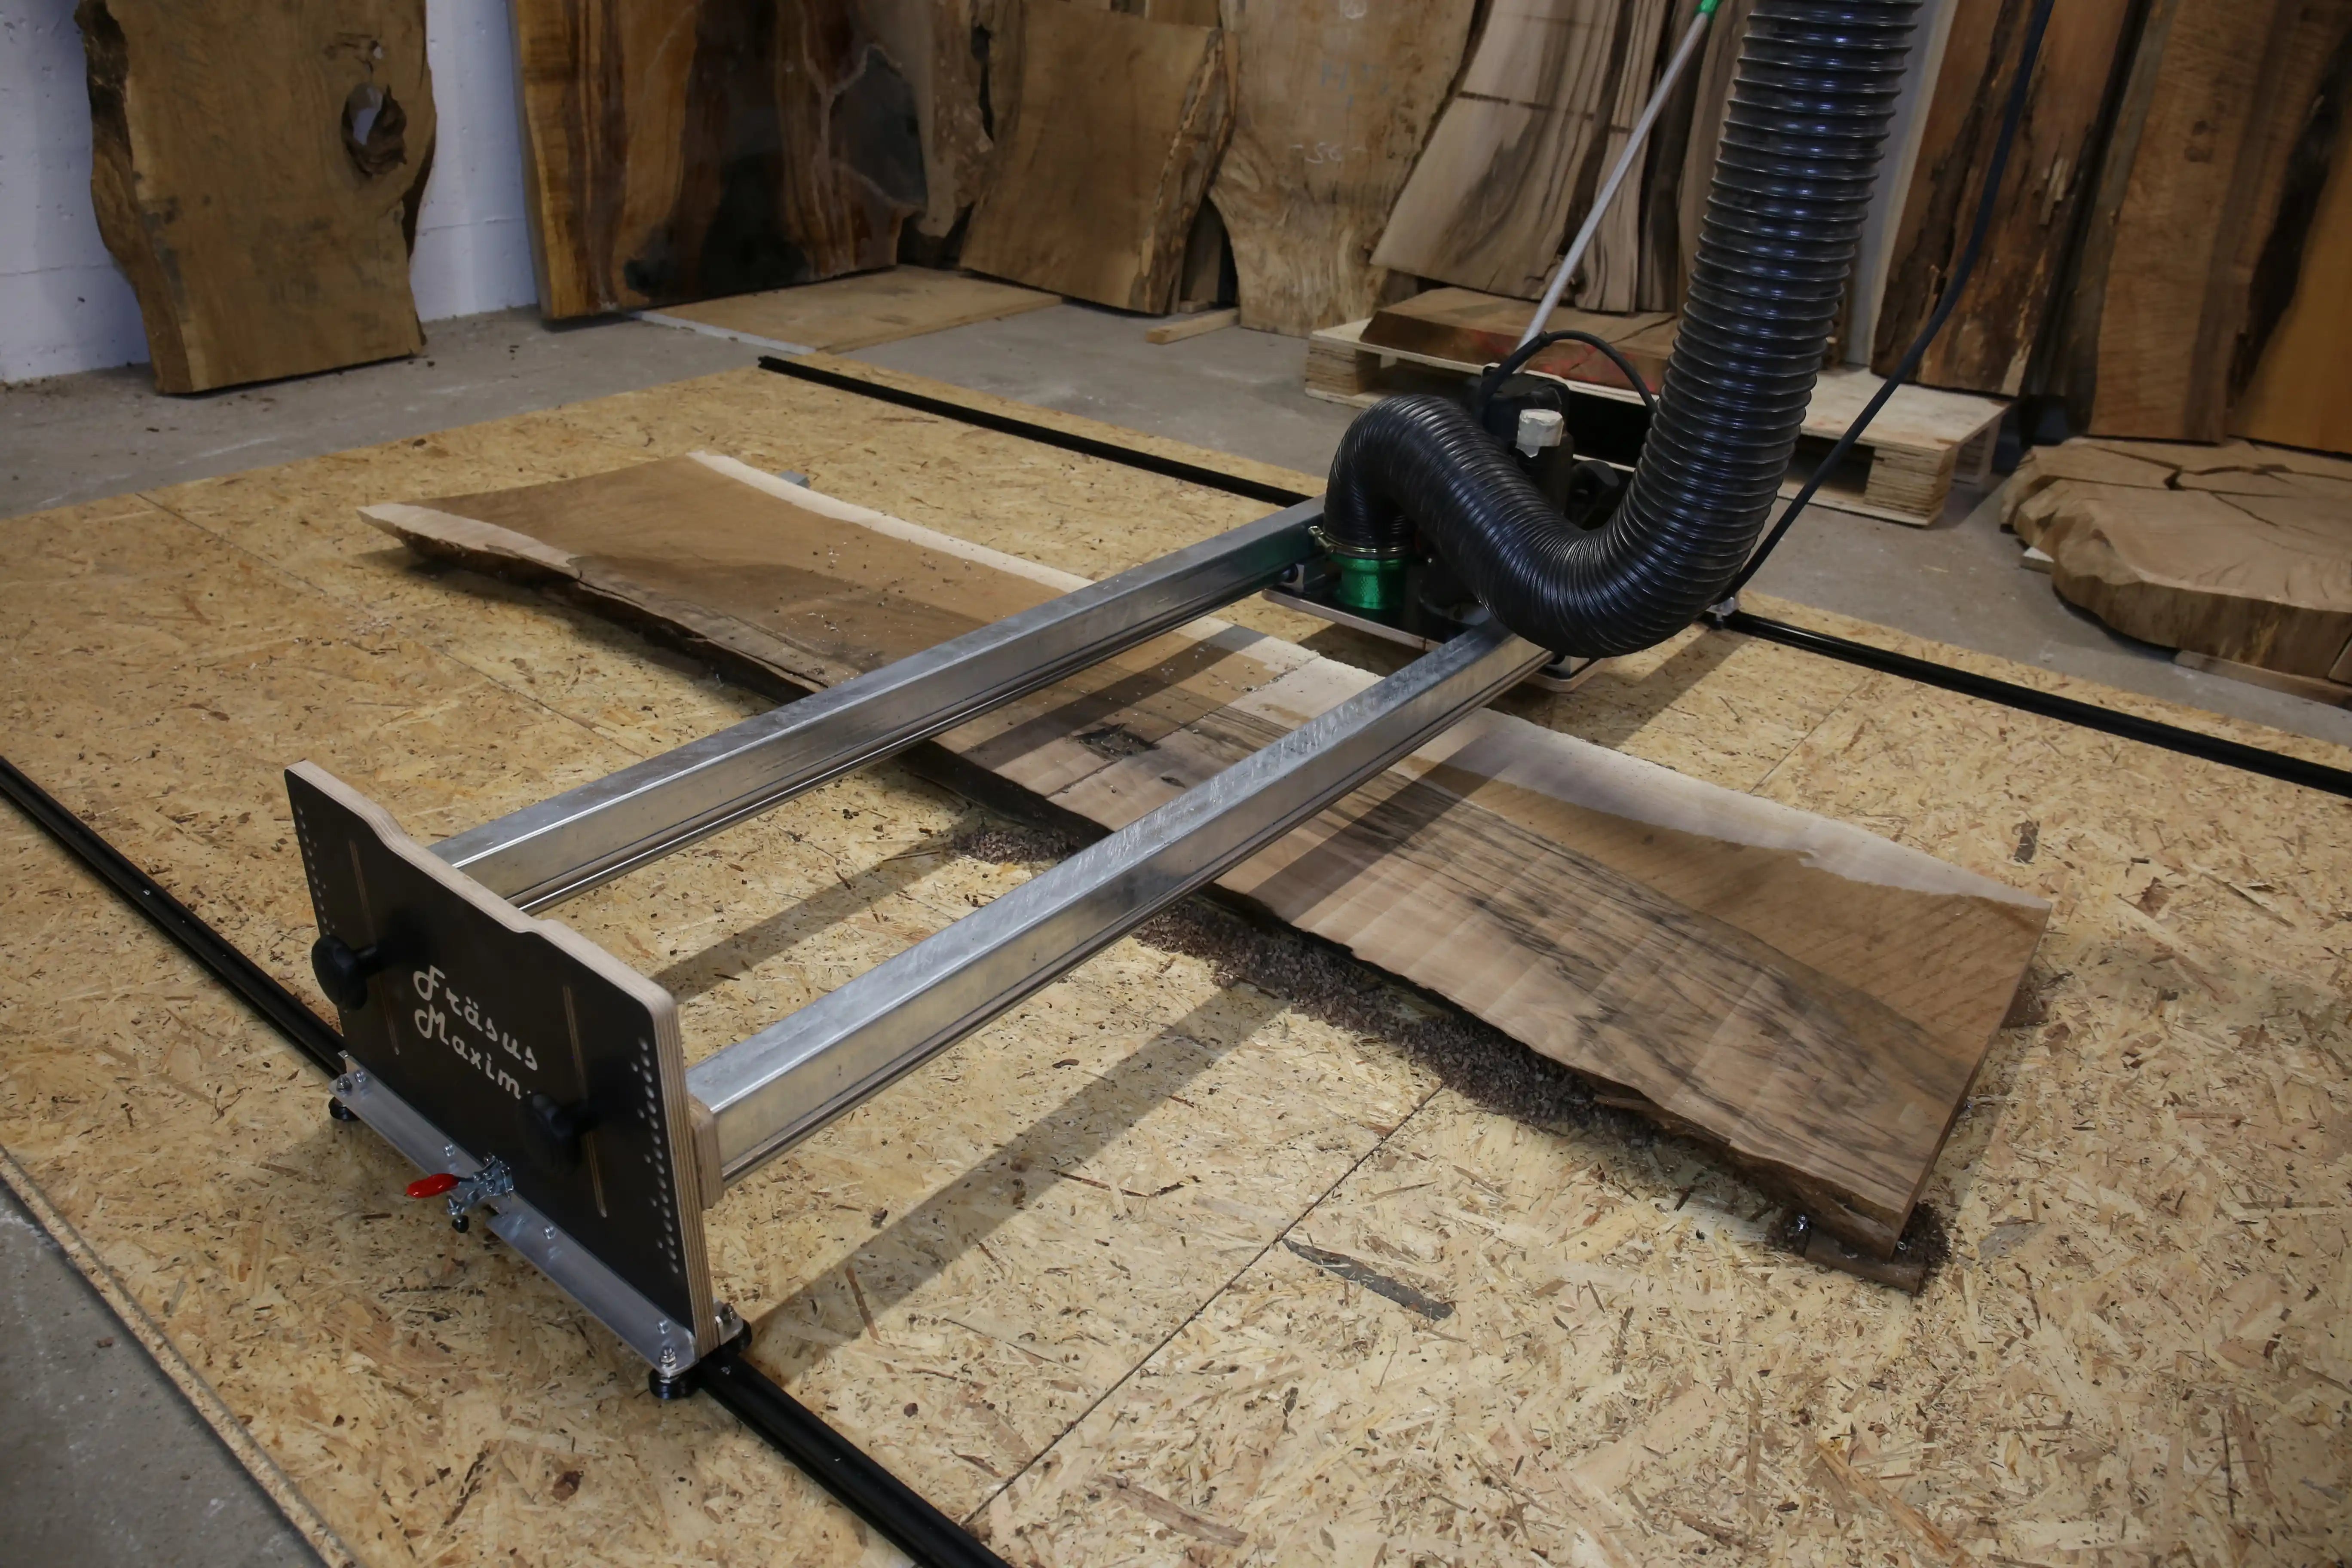
For epoxy tables and wood slabs: Fräsus Maximus
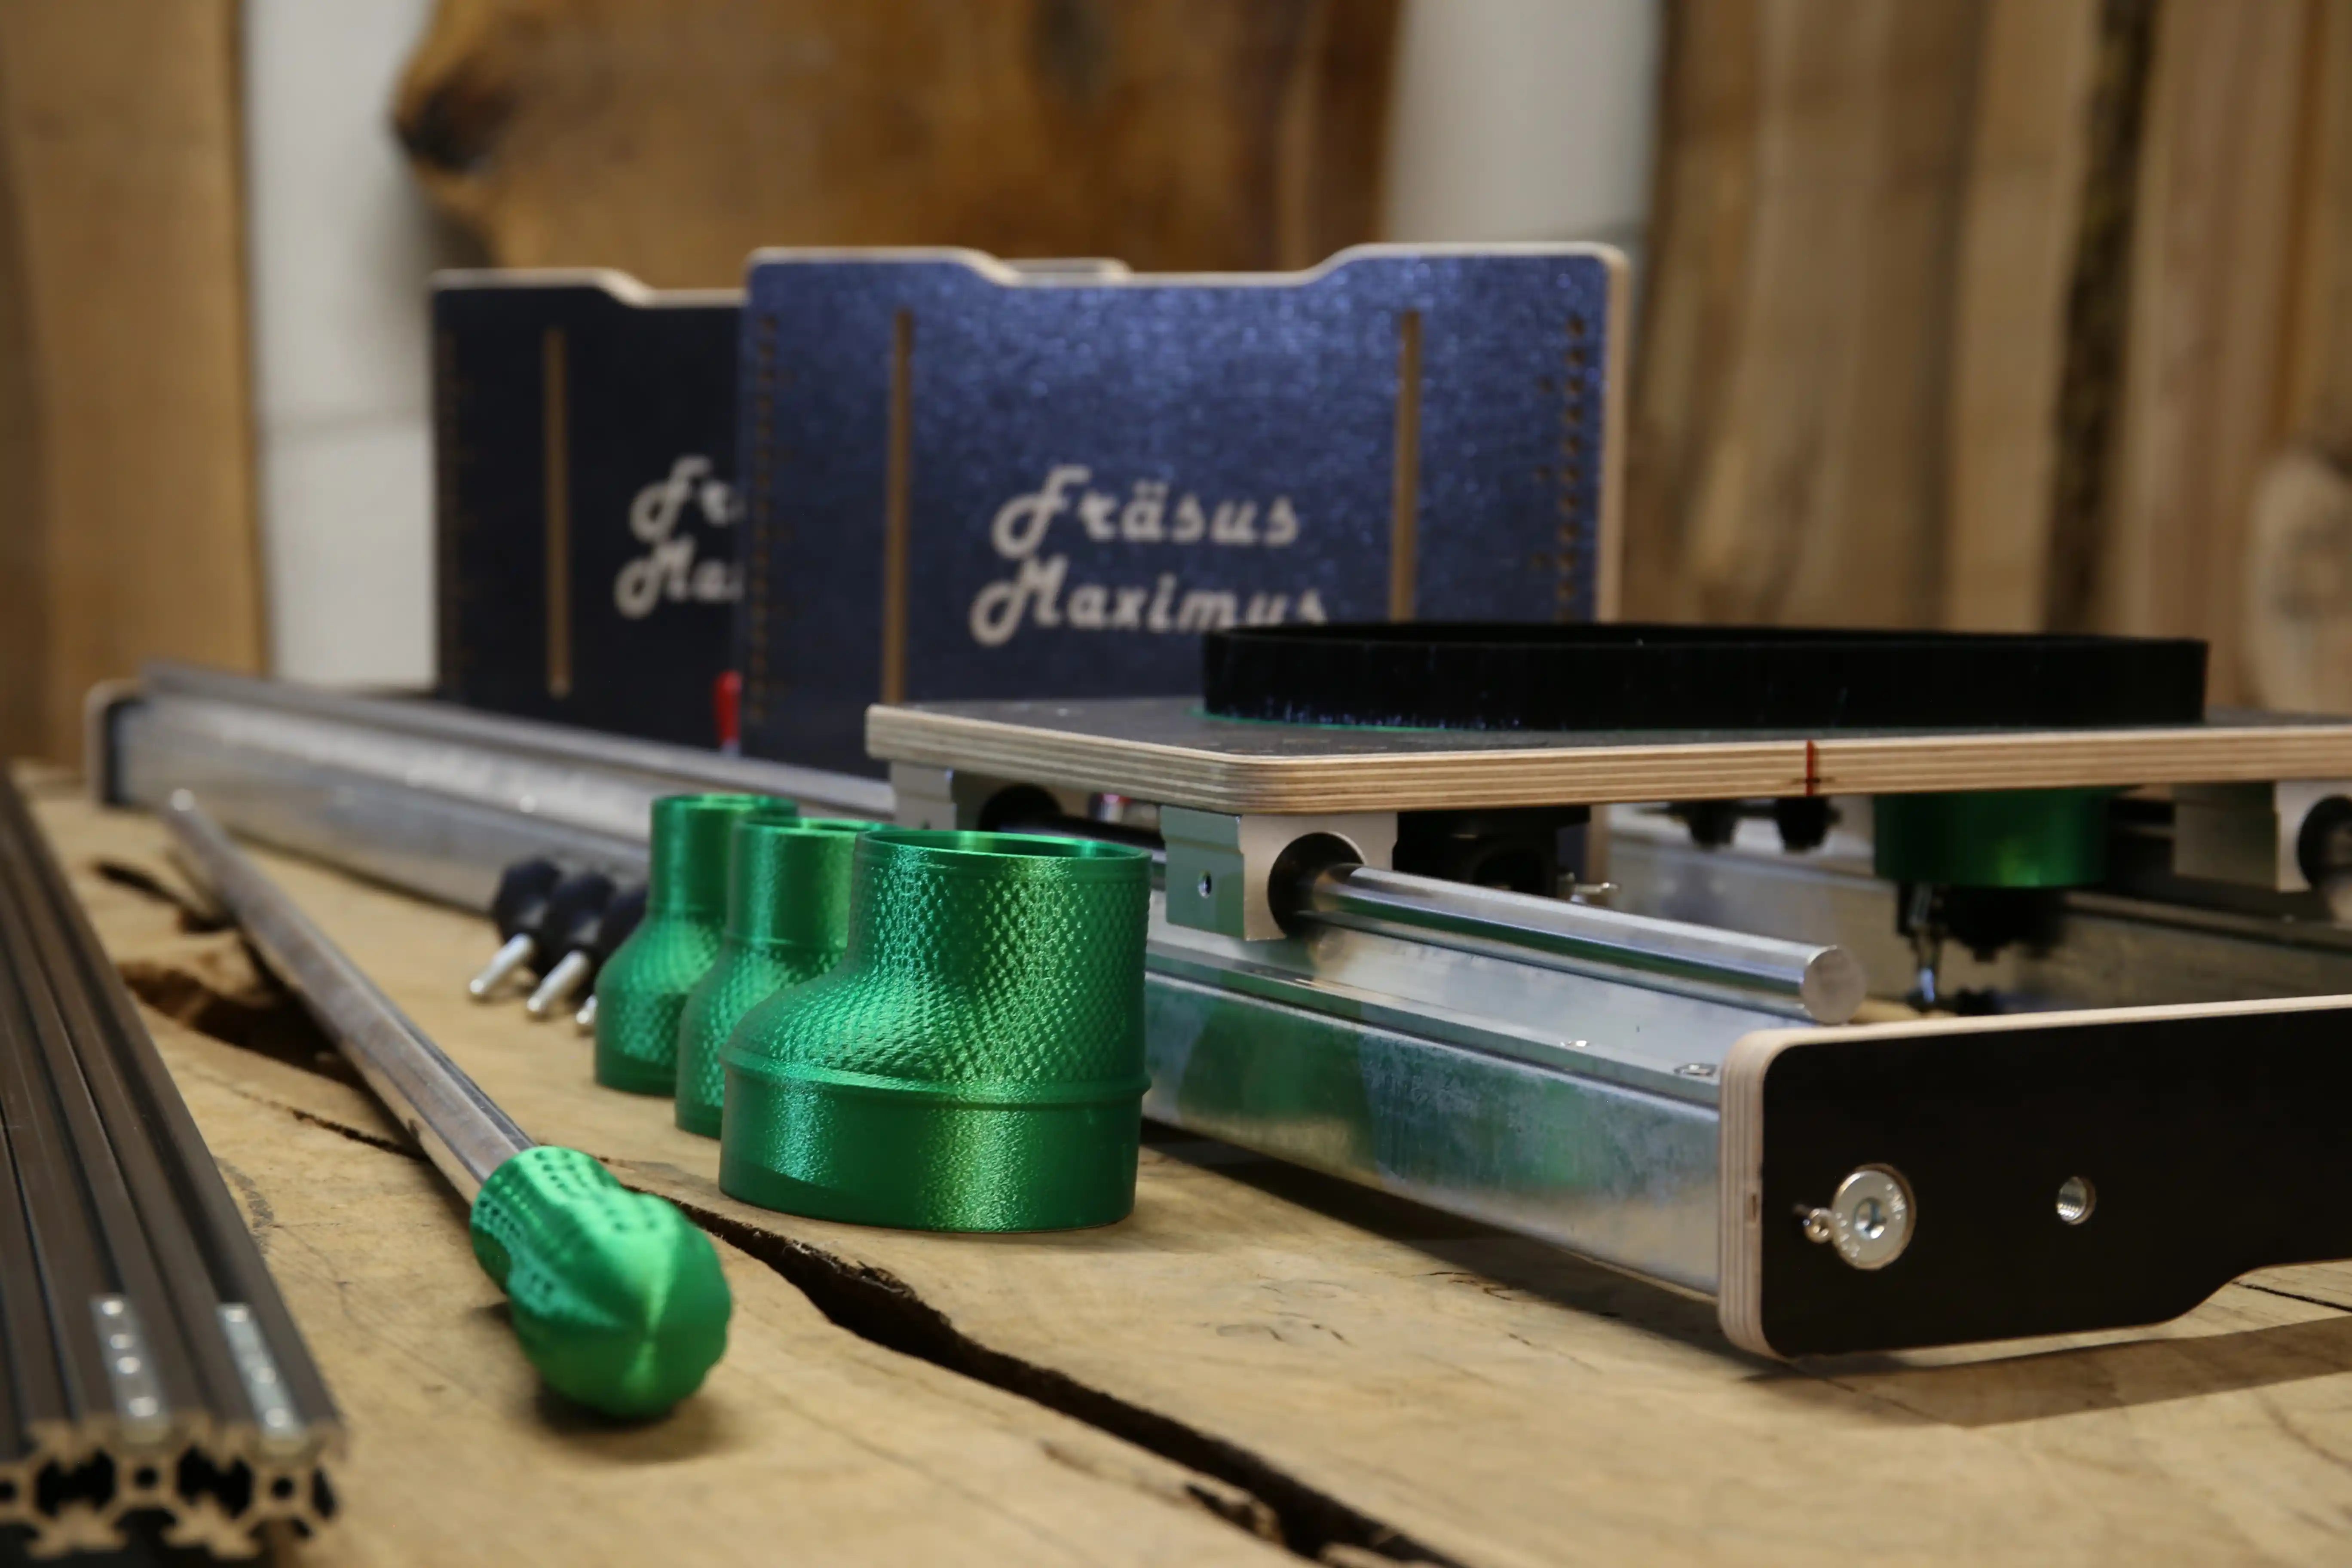
The Fräsus Maximus was developed for large wood slabs, tree slices and epoxy tables. Its rigid steel construction and controlled guidance help bring wood and epoxy cleanly into one plane – without unnecessary grooves, waves or unsteady passes.
- rigid router sled
- suitable for epoxy tables, solid wood slabs and tree slices
- controlled guidance for even passes
- working area up to approx. 300 × 150 cm
- ideal for large workpieces that won't fit through planing machines
My personal recommendation: the EPODEX PRO+ system
I like using the EPODEX PRO+ system myself. The main reason isn't any single marketing claim but reproducibility. For epoxy tables, it's crucial that the resin reacts reliably, stays homogeneous and can be machined evenly after curing.
Especially if you do several projects or customer orders, consistent behaviour matters more than a slightly lower purchase price. If every slab reacts similarly when milling, sanding and polishing, you can plan the process much better.
Why I pay attention to this
Consistent viscosity, reliable curing and clean machinability reduce surprises when flattening and sanding.
When good resin pays off
Especially with large table tops, deep pours, customer projects and visible surfaces, consistent quality is crucial.
Safety when working with epoxy resin
Epoxy resin shouldn't be treated like a harmless craft material. When mixing, pouring and sanding, clean working practices, personal protective equipment and good ventilation are important. Skin contact with uncured resin in particular should be avoided.
Sanding epoxy and wood produces fine dust. That's why dust extraction and respiratory protection make sense. Always follow the information in the technical data sheet and safety data sheet of the respective manufacturer.
No shortcuts on safety and data sheets
Mixing ratio, pot life, pour depth, curing time, protective measures and temperature range can vary considerably depending on the epoxy resin.


Share:
Planfräsvorrichtung selber bauen – wann sich DIY lohnt
Buying a Router Sled – What Really Matters