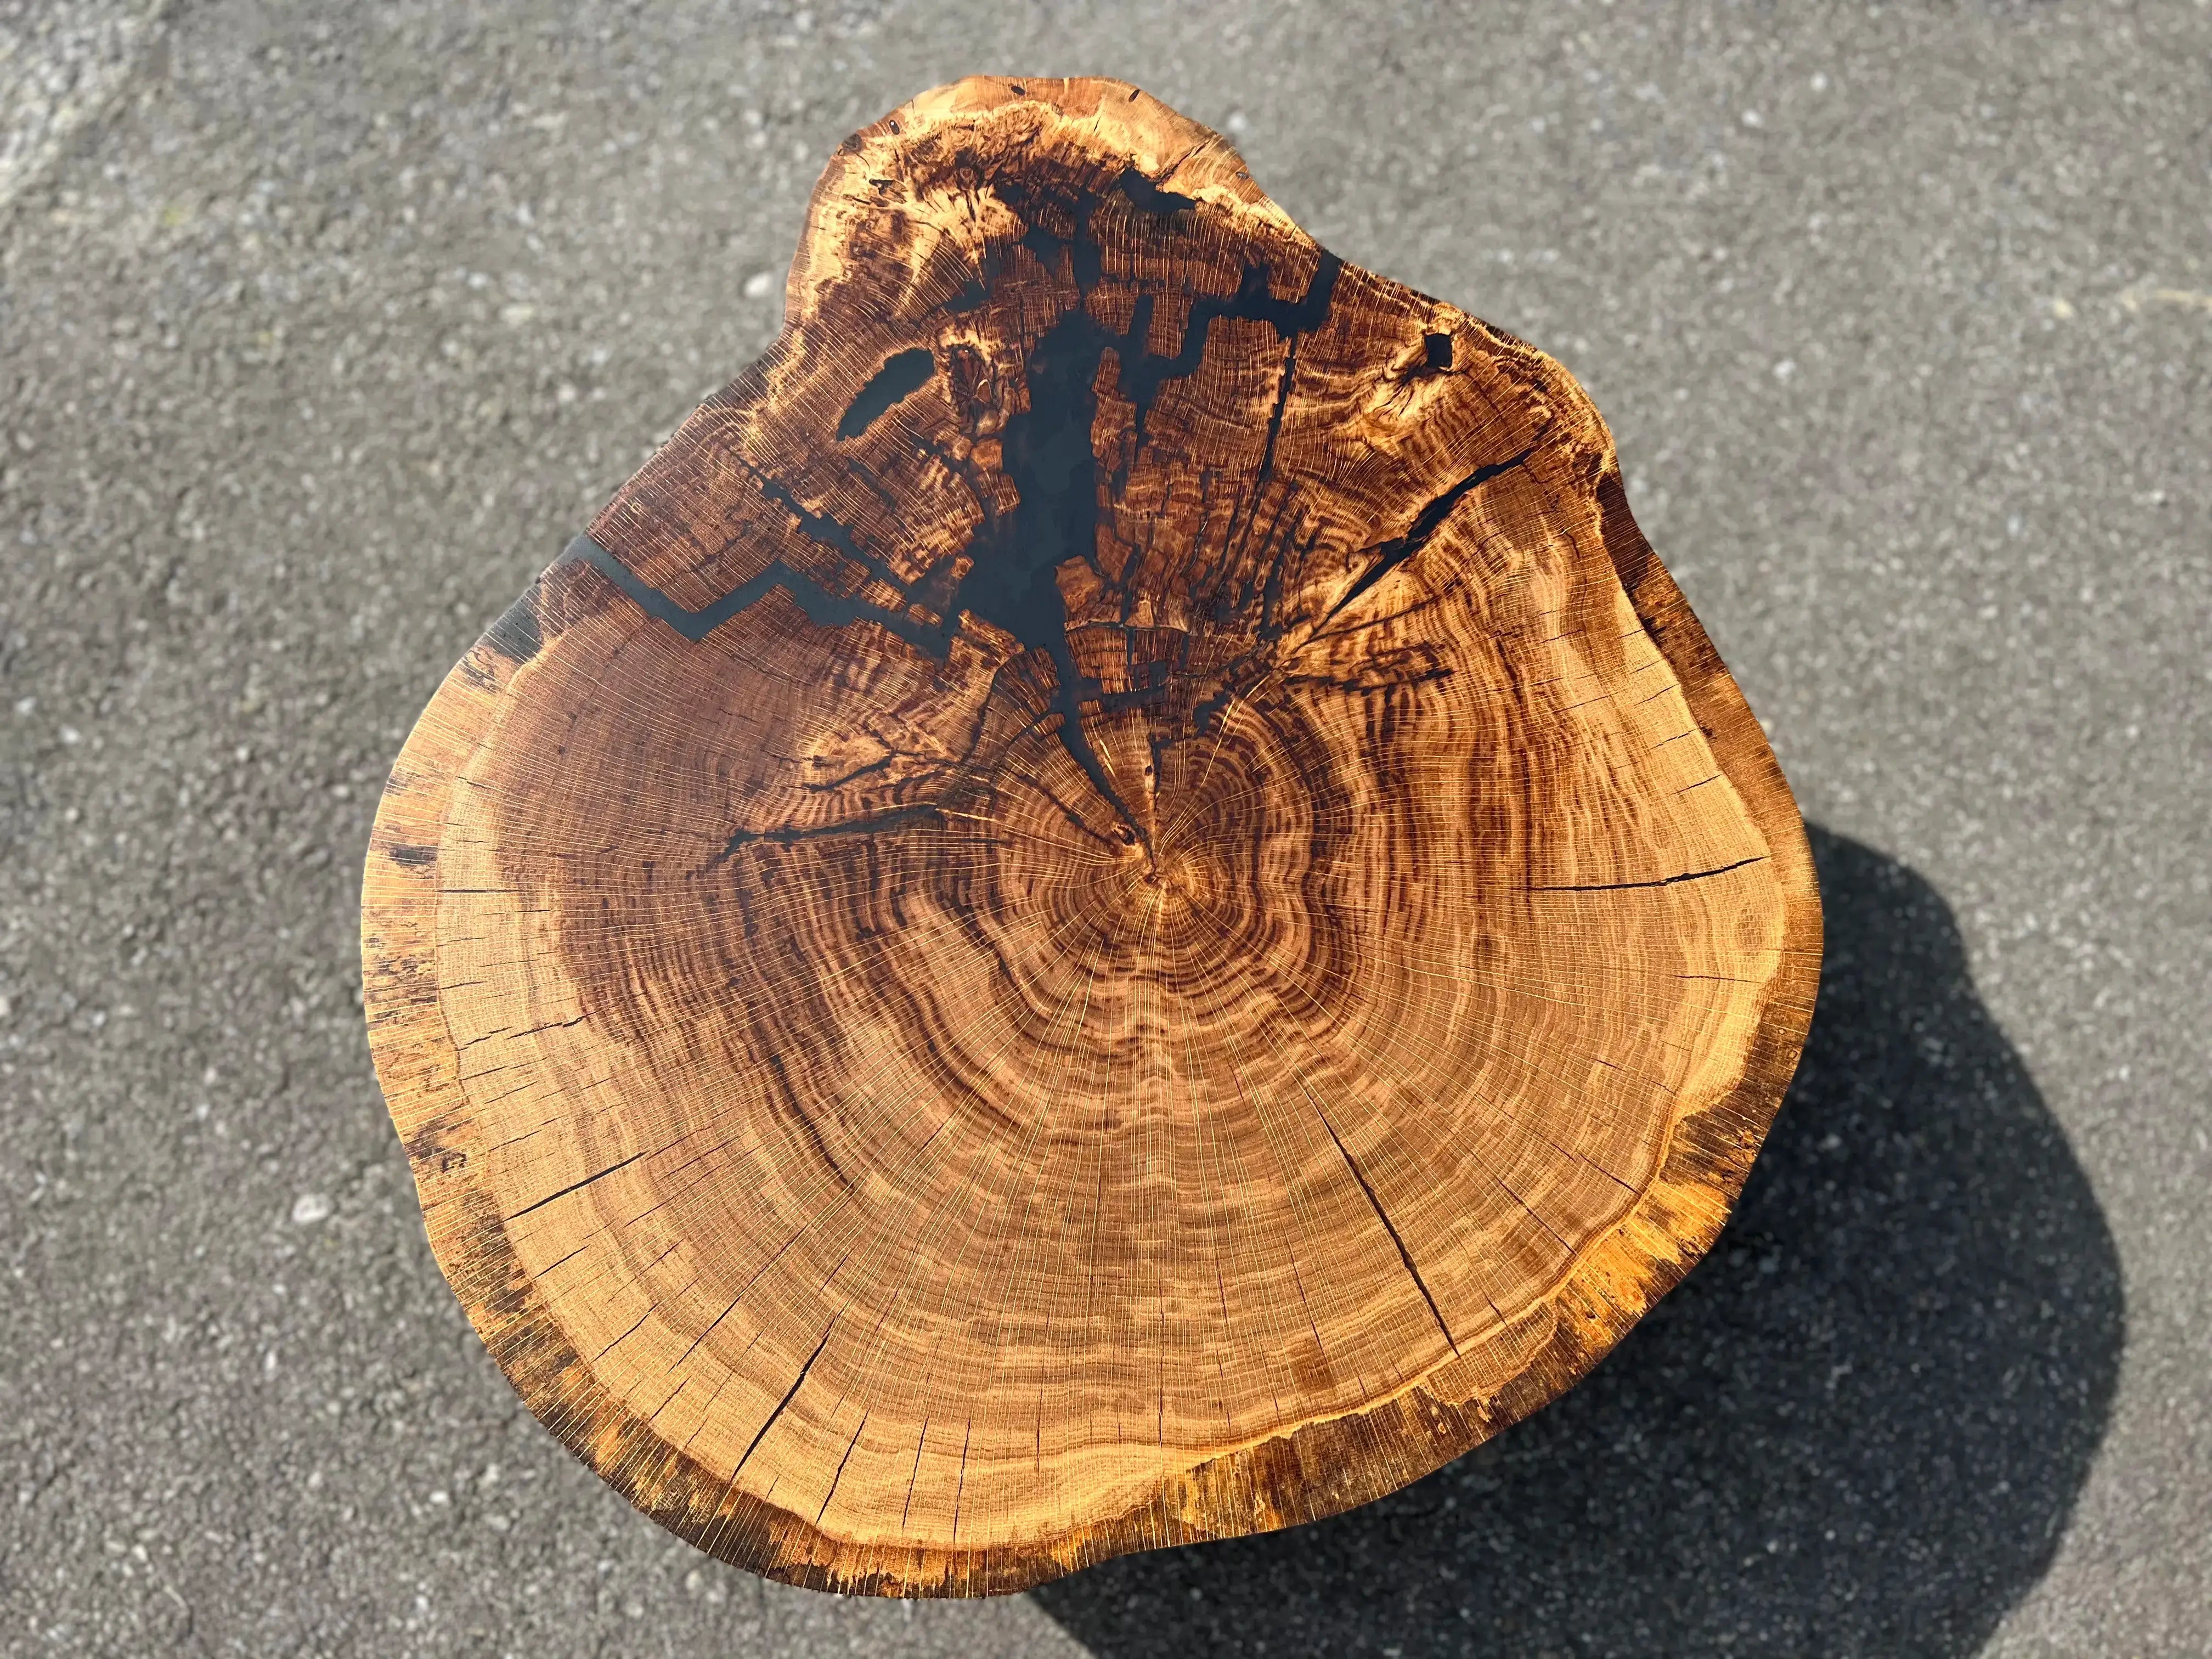
Tree slices look stunning, but they're technically demanding. They consist of end grain and contain changing wood zones, cracks, knots and irregular fibres. That's exactly why they can't be machined like ordinary boards.
In this article you'll learn why tree slices shouldn't be planed, why flattening with a router is the cleanest method, and what to look out for with the bit, depth of cut, guidance and sled.
In short: tree slices have to be milled
A tree slice is end grain. The fibres stand perpendicular to the surface. Planer knives aren't suited to this because they don't cut the fibres cleanly – they can tear them out or break them off. A router with a flattening bit and a rigid router sled is far better suited.
Why tree slices shouldn't be planed
Ordinary boards consist mainly of long grain. The fibres run along the length of the board. Planers are designed exactly for this: the knife cuts along the grain and produces a smooth surface.
With a tree slice, things are different. The surface shows the cross-section of the trunk. Growth rings, cracks and fibres run across the machining direction. A planer knife therefore hits the fibre ends head-on. This can lead to severe tear-out, rough patches, chipped areas and damaged knives.
Suitable for planers
The wood fibres mostly run lengthwise. The cutting edge can work along the grain in a controlled way.
Critical for planers
The cutting edge hits the fibre ends. This quickly leads to tear-out, impacts and uncontrollable surfaces.
Rule of thumb
Tree slices don't belong in a thickness planer. If a tree slice really needs to be flat, it's flattened with a router in a rigid router sled.
Why flattening works on end grain
When flattening, the workpiece isn't pulled through a machine. Instead, the tree slice stays fixed while a router is moved over it on a defined guide. The guide determines the plane, not the irregular surface of the tree slice.
The flattening bit removes the high spots step by step. This creates a flat surface even if the slice was previously warped, cupped or wavy. What matters is that the bit is sharp, the depth of cut isn't too deep and the guide doesn't give.
Secure
The tree slice is supported securely and prevented from rocking or tipping.
Flatten
The router is guided over the surface pass by pass.
Reference plane
The milled side becomes a clean bearing surface for the second side.
Why tree slices are particularly demanding
Tree slices aren't a uniform material. Within a single slice, hard latewood zones, softer earlywood zones, knots, cracks, resin pockets and sometimes epoxy fillings alternate. The bit is therefore constantly loaded differently.
This is exactly where the weaknesses of a router sled show up very quickly. If the guide has play, the frame gives or the router tilts, you get grooves, waves or matte spots. On end grain, such flaws are often more visible than on ordinary long grain.
| Property of the tree slice | Effect when milling | What helps |
|---|---|---|
| End grain | higher load on the cutting edges, risk of tear-out | sharp flattening bit, shallow depth of cut |
| Knots and cracks | changing cutting forces and unsteady running | even feed, rigid guidance |
| Cupping and warping | different amounts of stock removal across the surface | find the highest point, several passes |
| Epoxy fillings | different hardness, more wear on the cutting edges | indexable inserts, clean dust extraction |
The right flattening bit for tree slices
For tree slices, flattening bits with indexable inserts make particular sense. Milling end grain puts a lot of stress on the cutting edges. If epoxy resin, cracks, dirt or hard knots are present as well, wear increases further.
A flattening bit of roughly 35 to 60 mm is a sensible range for many tree slices. Smaller bits need a great many passes. Very large bits generate high cutting forces and require a powerful router and genuinely rigid guidance.
Recommendation
For most users, a high-quality flattening bit with indexable inserts in the 35 to 40 mm range is a good starting point. With a powerful router and a rigid sled, larger diameters can make sense too.
What depth of cut makes sense for tree slices?
Tree slices shouldn't be milled aggressively. End grain, knots and cracks generate changing forces. Too deep a cut increases the risk of vibration, tear-out, heat and visible tool marks.
It's cleaner to work in several shallow passes. First, only the highest point is lightly milled. Then the cutting depth is increased step by step until the entire surface has been machined.
- find the highest point of the tree slice
- start with a shallow depth of cut
- let the passes overlap slightly
- keep an even feed rate
- don't dwell in the material
- check the cutting edges regularly
Flattening a tree slice: step by step
The process is simple, but it has to be carried out cleanly and patiently. What matters is that the tree slice is stable and the bit removes only as much material as the router can handle in a controlled way.
Support the tree slice securely
Place the tree slice on a solid base. It must not rock, tip or flex while milling. Irregular undersides can be supported with wedges, sacrificial strips or packing.
Secure the workpiece against movement
The slice must be secured against sliding sideways. Especially with large bits, forces arise that can move the workpiece.
Find the highest point
Set the router so that the flattening bit only touches the highest spots at first. This avoids unnecessary material loss.
Mill in shallow passes
Move the router calmly and evenly over the surface, pass by pass. The passes should overlap slightly so that no unmachined strips remain.
Make further passes
Increase the cutting depth step by step until the whole surface is flat. Several shallow passes usually give the best result.
Machine the second side
Once the first side is flat, the tree slice is turned over. The milled side now serves as a clean bearing surface for machining the second side parallel to it.
Why conventional milling matters for tree slices too
When flattening tree slices, you should work in a controlled way using conventional milling. The bit cuts against the feed direction. This keeps cutting forces more manageable and reduces the risk of the router suddenly pulling in the feed direction.
With end grain, knots and cracks in particular, forces can change quickly. That's why the return stroke shouldn't be used as a second cut. A clear routine is better: mill the pass, move out of the cut, step over sideways and start again.
Safety note
Don't stand over the cutting area, don't reach across the tree slice and don't drive aggressively into the material in climb milling. A position to the side and a calm feed are much safer.
Why a rigid router sled is crucial for tree slices
A tree slice doesn't forgive weak guidance. If the sled deflects, if rollers or guides have play or if the router tilts sideways, the result is immediately visible. Every small movement of the guide is transferred directly into the surface.
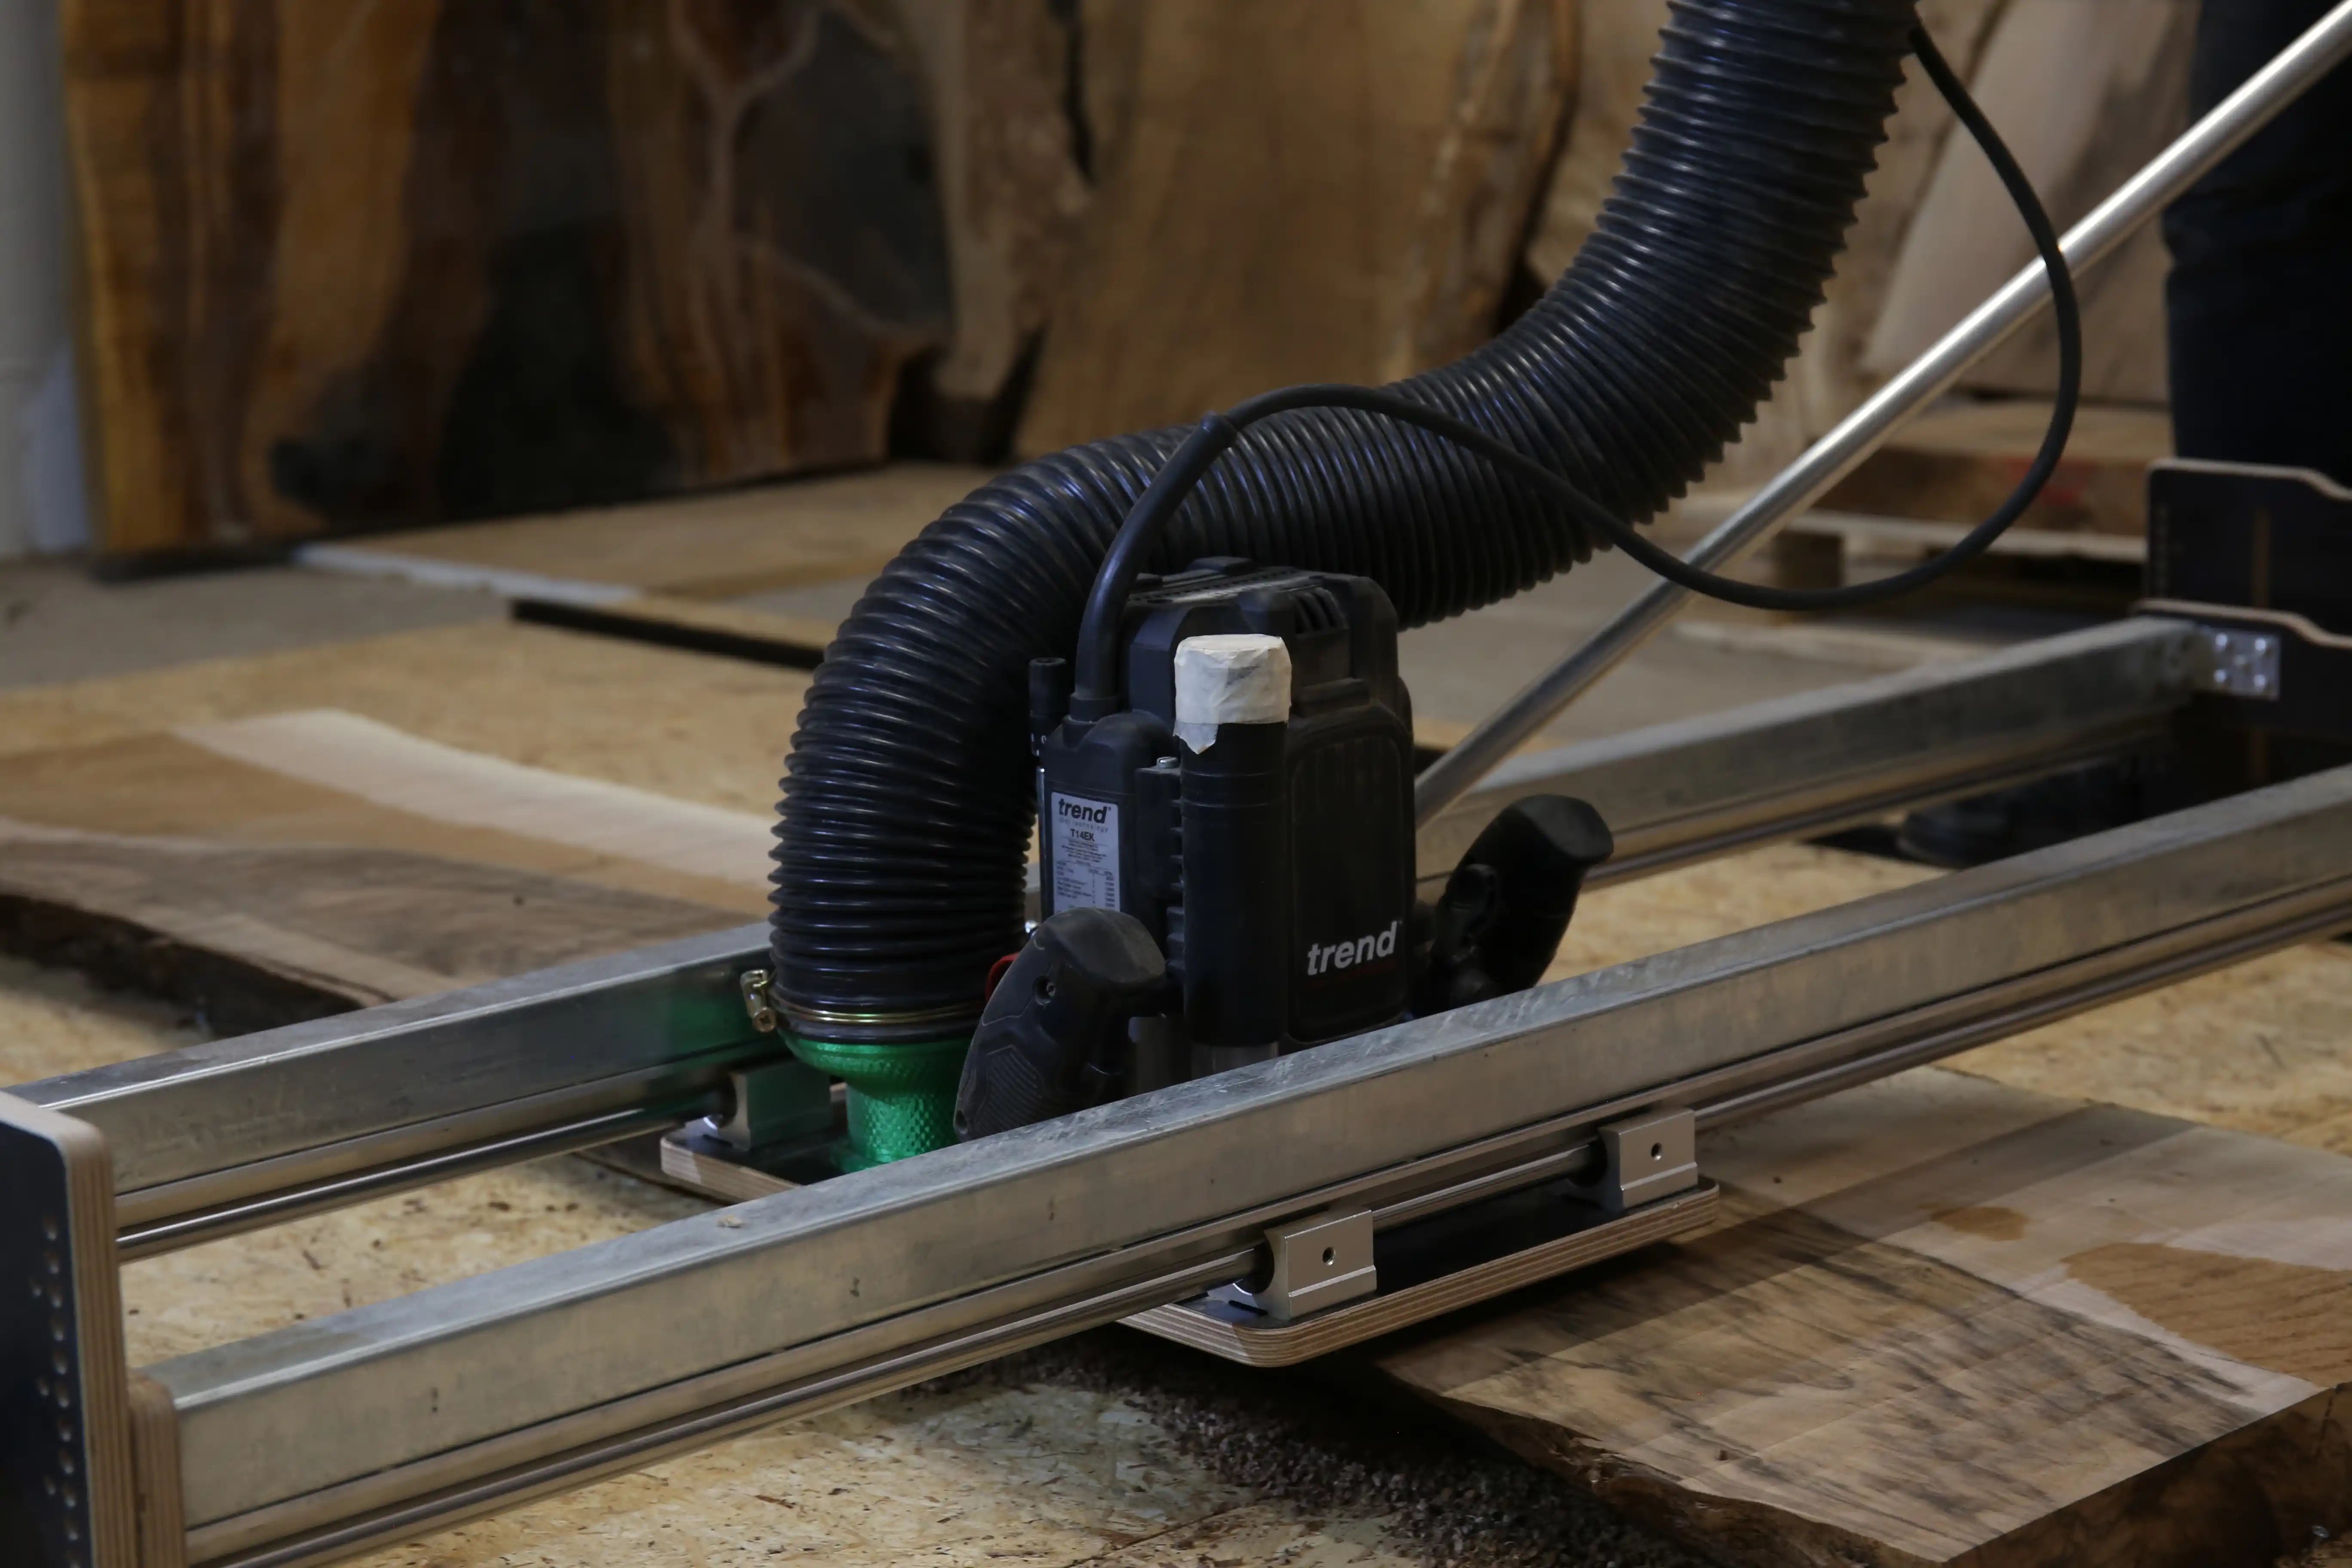
Stiffness is particularly crucial for large slices. The sled has to absorb the weight of the router, the cutting forces of the flattening bit and the changing forces in the end grain. Only then do you get a truly flat surface instead of one with grooves and waves.
Weak guidance
Play, deflection or tilting create waves, steps and visible tool marks.
Rigid guidance
The router runs smoothly and repeatably across the surface. This creates a defined plane.
Common mistakes when flattening tree slices
Tree slice not adequately supported
If the slice gives way during milling, you won't get a clean plane. The support has to be stable.
Too deep a cut
Too much material at once increases vibration, tear-out and load on the cutting edges.
Blunt or unsuitable bit
End grain is hard on cutting edges. Blunt edges cause heat, tearing and rough surfaces.
Unstable sled
Light sleds or sleds with play reach their limits particularly quickly on tree slices.
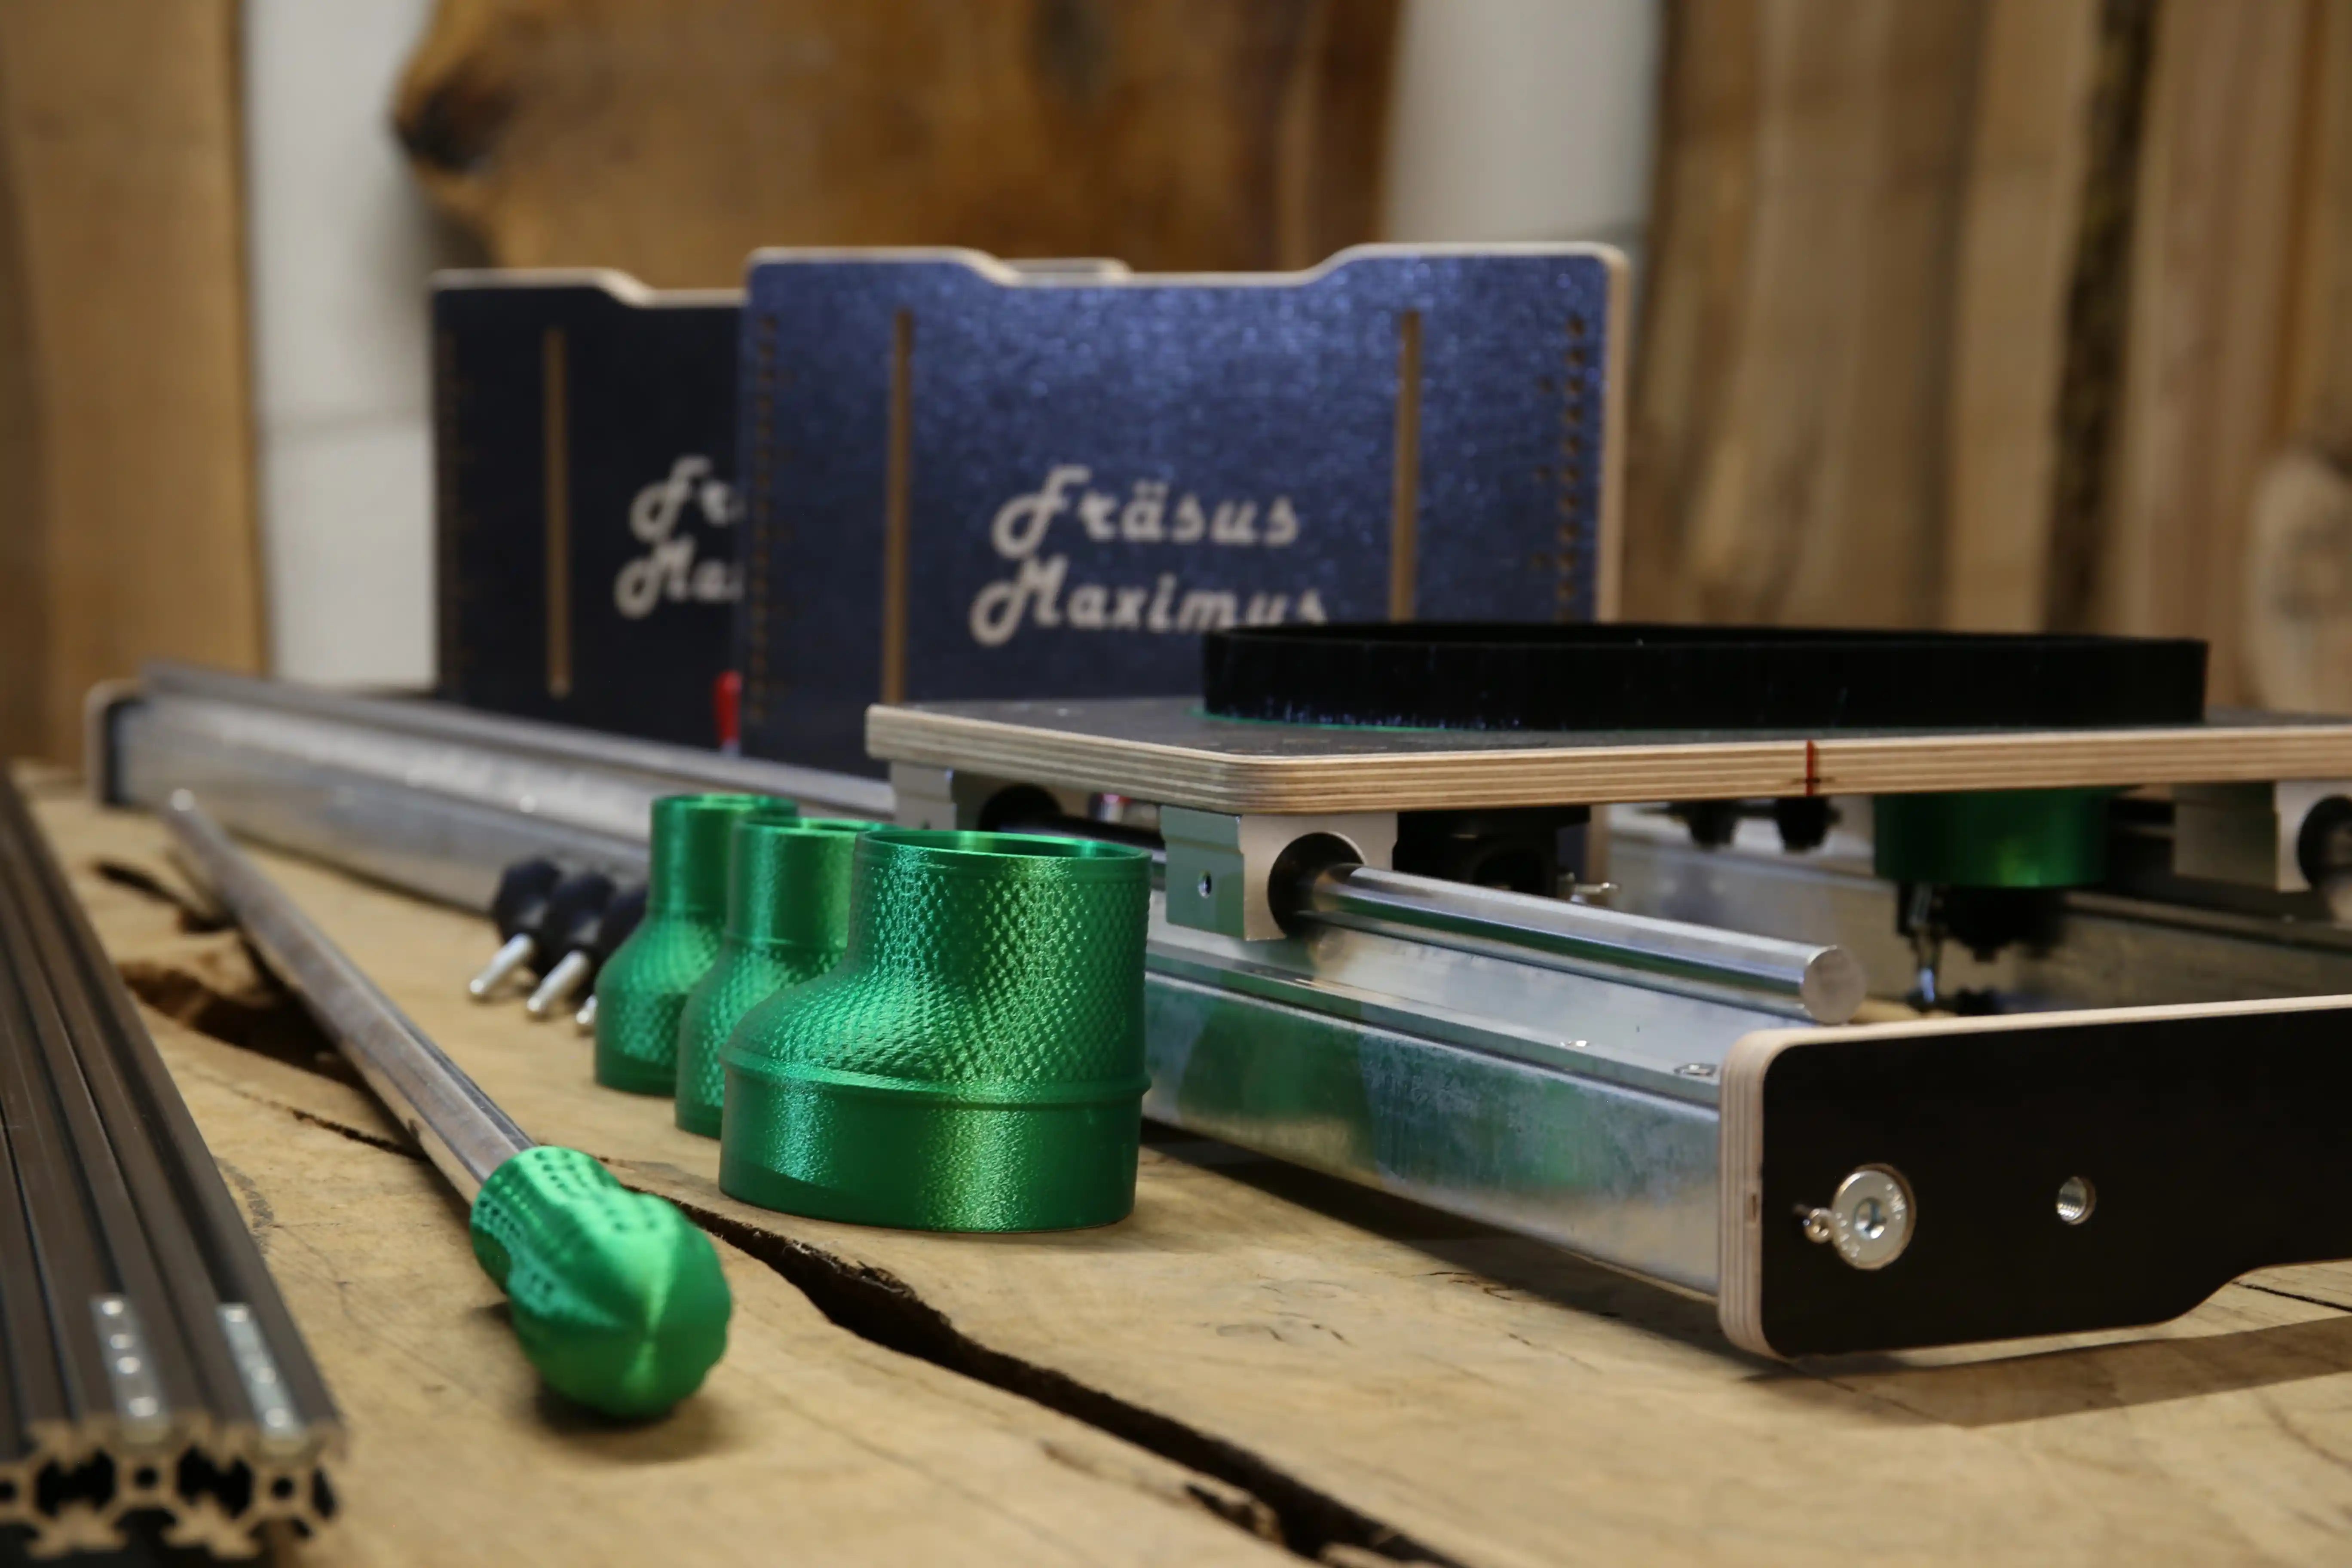
Developed for tree slices: Fräsus Maximus
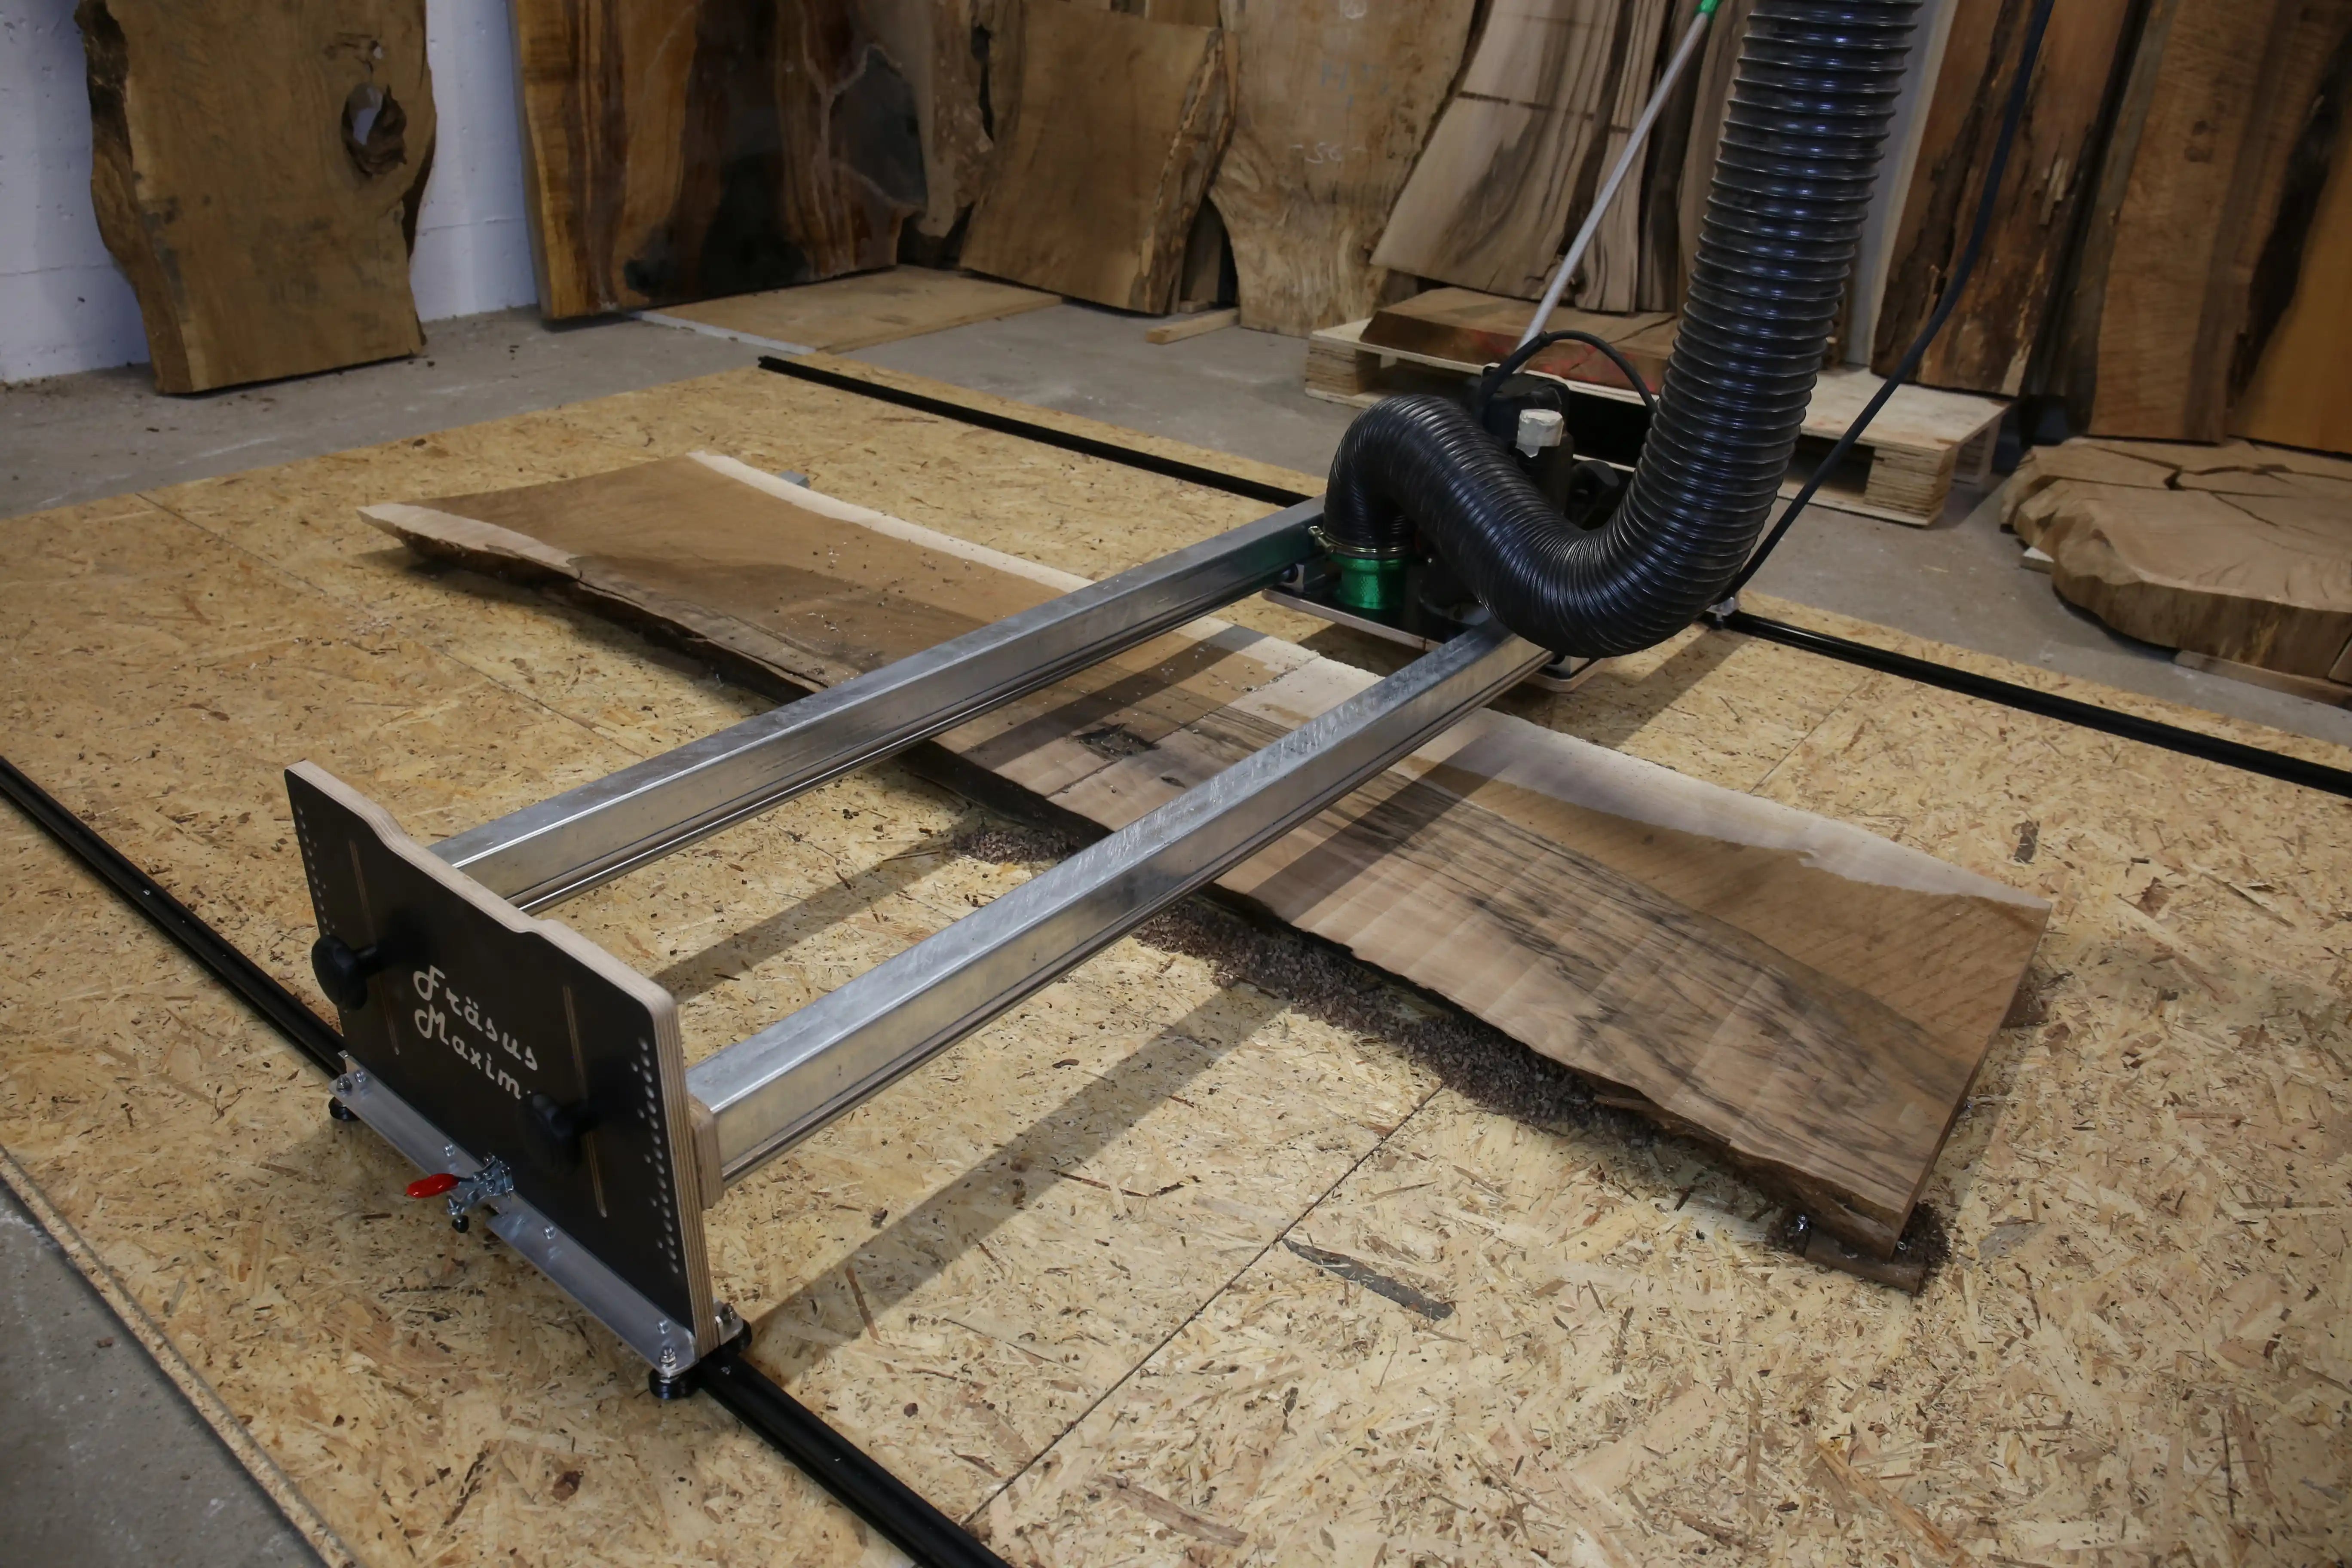
The Fräsus Maximus was built for exactly these applications: large tree slices, wide wood slabs and epoxy-wood combinations. Its rigid steel construction and controlled guidance help flatten even demanding end grain smoothly and repeatably.
- rigid router sled
- suitable for tree slices, solid wood slabs and epoxy tables
- controlled guidance for even passes
- working area up to approx. 300 × 150 cm
- developed for large and irregular workpieces
FAQ: common questions about flattening tree slices
Can you plane tree slices?
Tree slices shouldn't be planed because they're end grain. The knives of a planer hit the fibre ends head-on. This can cause tear-out, rough spots and damaged knives.
How do you get a tree slice flat?
The most reliable way to flatten a tree slice is with a router in a rigid router sled. The sled defines the plane while the flattening bit removes the high spots step by step.
Which bit is suitable for tree slices?
Flattening bits with sharp cutting edges, ideally with indexable inserts, are suitable for tree slices. A diameter of about 35 to 60 mm makes sense for many applications, depending on the router and the sled.
Why do grooves appear when flattening tree slices?
Grooves are often caused by play in the guide, too deep a cut, blunt edges, an uneven feed or a poorly supported tree slice. A rigid sled and shallow passes reduce these errors significantly.
Do you have to flatten both sides of a tree slice?
In many cases, yes. First one side is flattened. Then the tree slice is turned over so that the flat side serves as the reference surface. After that, the second side can be machined parallel to it.
Conclusion: tree slices need different machining from ordinary boards
Tree slices are demanding because they're end grain and contain strongly varying material zones. Planers aren't suitable because they can tear out or damage the fibre ends. If you really want to get a tree slice flat, you should flatten it with a router.
What matters is a rigid router sled, a suitable flattening bit, a shallow depth of cut and a controlled milling direction. Then an irregular tree slice becomes a clean, flat surface that can be sanded, oiled or made into a table top.
Want to flatten tree slices cleanly?
The Fräsus Maximus was developed for large tree slices, wood slabs and epoxy tables – with a rigid steel construction, controlled guidance and a large working area.

Share:
Which Flattening Bit for Wood Slabs? 35–60 mm Explained
Flattening Wood Slabs – the Easiest Method for Large Workpieces